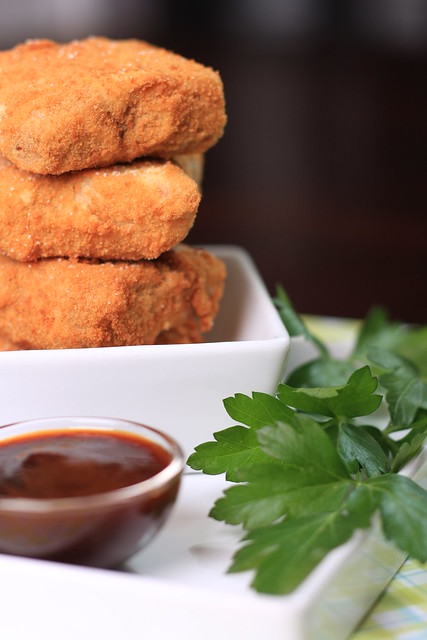
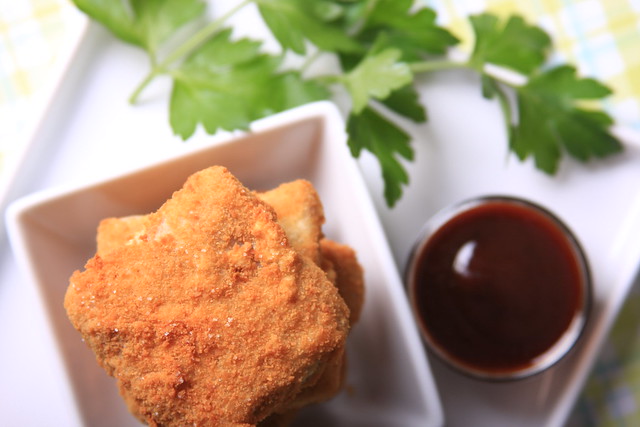
During my last visit to Chinatown, I picked up a large taro root with the intent to make raw dehydrated taro chips. However, after a little precursory googling, I discovered that raw taro contains calcium oxalate, so I revised my original plan to include through boiling, which makes consumption of the root safe. Boiling the taro resulted in a soft and velvety texture, with a beautifully rich and creamy taste. I decided to add a little Chinese five-spice powder after mashing, which worked well with the starchiness and richness of the taro. These tasted heavenly fried and paired perfectly with a vegan barbeque sauce.
Get This Recipe In Your Inbox
Share your email, and we'll deliver it straight to your inbox.
Plus, enjoy new content every week as a bonus!

SPICED TARO ROOT CROQUETTES
- Yield: 2 servings
Ingredients
- One large taro root, peeled and diced (wear gloves if you have sensitive skin)
- 1 tsp Chinese five-spice powder
- 1 tsp salt
- 3/4 cup rice flour
- 1/4 cup chickpea flour
- 3/4 cup panko or plain bread crumbs
- 1 1/2 tsps Ener-G, whisked with 5 TB water
- oil for frying
Instructions
- Bring plenty of water to a boil in a small to medium-sized pot. Add a 1/2 tablespoon of salt to the water, then add in the diced taro. Boil, uncovered, for 8-10 minutes. Drain, mash and add the five-spice powder and salt. Set aside to cool.
- Set up three shallow, wide bowls. In the first bowl, add the Energ-G and water mixture. In the second bowl, add the chickpea and rice flour mixture. In the third bowl, add the breadcrumbs.
- By now, the taro should be cool enough to shape with your hands. I used a square stainless steel form for these, but you can also shape them into little patties or balls.
- Bring plenty of oil in a small saucepan over medium-high heat. Test the oil’s readiness by inserting a wooden spoon into the oil. If bubbles form around the spoon immediately, you are ready to fry.
- To coat the croquettes, first dip them into the Ener-G/water mixture. Then coat in the rice flour/chickpea mixture, tapping off any extra flour. Dip again into the Ener-G/water mixture, then coat in the breadcrumbs.
- Place it immediately into the hot oil and fry until golden brown, about 2-3 minutes. Only fry 1-2 croquettes at a time, and place on paper towels to drain. Serve immediately.


I love taro! I usually braise it with mushrooms and other things but never thought to make croquettes! Going to have to try that, thanks for the recipe! 🙂
Thanks Caitlin!
Thanks Angry Asian! It passed my husband's taste test — although he said taro had a "weird" but good flavor. I'll have to try it steamed next time I make it!
these look SO GOOD. i love the way you shaped them.
I enjoy taro root steamed & then fried, dipped in hoisin sauce. It's a dimsum dish. It's never once occurred to me to actually make it myself.
Your version looks wonderful, did the hubs like it?