I know what you’re thinking: bruschetta is bruschetta because it’s made with grilled bread. You’d be right, but I’ll explain why I’m calling this bruschetta if you want to read on.
When I was about 10, I went over to a friend’s house to go swimming. I threw my bathing suit into one of those plastic grocery bags, hopped on my bike, and coasted down the very steep hill on the way to her house. I carried that bag in my right hand, which rested on the bike handle, which dangled precariously close to the spokes on the front wheel of the bike.
If you made a whatanidiot! scowl after reading that last sentence, I won’t blame you. It wasn’t the smartest decision I’ve ever made, but I was 10. After hitting the asphalt facefirst over the front handlebars of the bike at a high speed, one of my bottom teeth (aka #23), was knocked out. I somehow found it and it was put back in, which was followed by seemingly endless trips (at least in my 10-year old mind) to the dentist for a root canal to keep the tooth anchored in place.
But fast forward 25 years later, that root canal failed. The tooth turned a weird shade of grey, was very wobbly and unstable, and I was told I needed a dental implant or the surrounding bone would begin to erode around my other healthy teeth. Plus it’s in the front of my mouth.
So in early 2011 when we still lived in Boston, I went through the process of having the tooth removed (which came out in broken pieces), an implant placed into the now-empty socket, and then waited for it osseointegrate to my jaw bone for a few months before having a crown loaded onto it. After having a really bad reaction to the antibiotic they gave me following the implant surgery, an incorrectly torqued crown which had to be replaced and debris that somehow lodged near the root of the adjacent tooth that required an additional surgery, the normal few months’ process dragged on for almost a year. Because of this, I am now completely paranoid about something happening to the bottom row of my teeth.
So when I went to a new dentist in LA last week and was told that the healthy teeth surrounding my implant are starting to show some other issues related to the old trauma, I kind of threw my hands up in the air. I wanted to punch my 10-year-old self in the face for making such a stupid decision almost 30 years ago, but winced at the thought of the potential fake dental consequences this imagined punch would cause.
But back to the bruschetta. Ever since the implant surgery a few years ago, I don’t bite into hard things like crusty bread or whole apples (scream) unless I have a fork and knife or can rip it apart by hand in a socially acceptable way. But I wanted something bruschetta-like this past weekend, so I decided to make some soft and pillowy panisse instead.
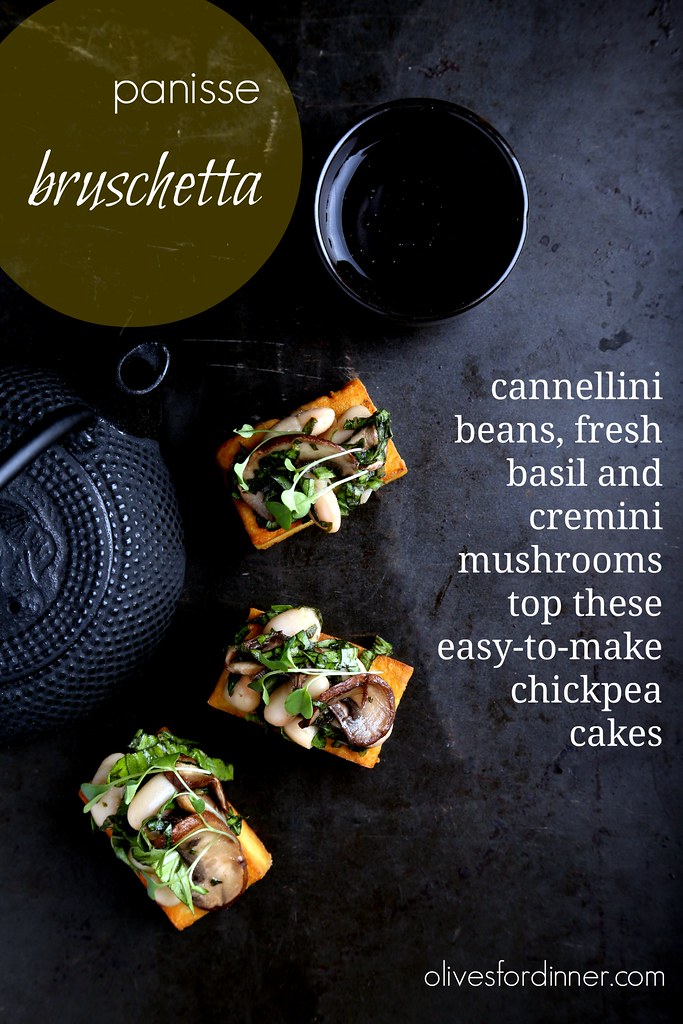
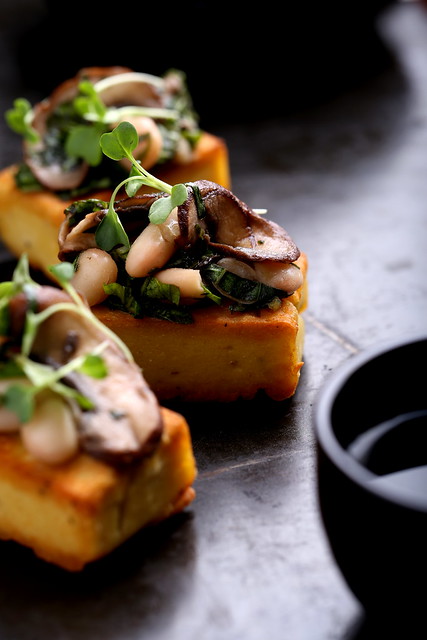
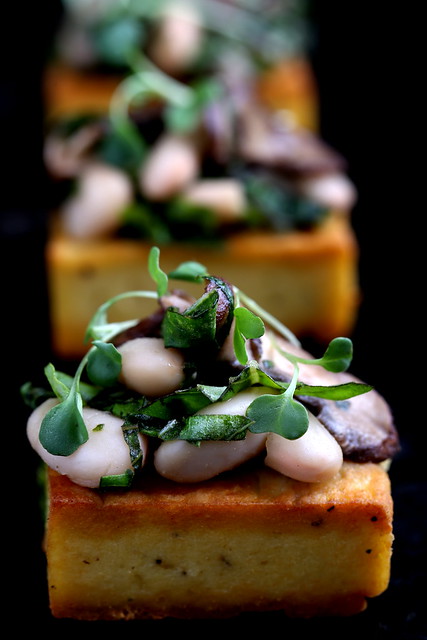
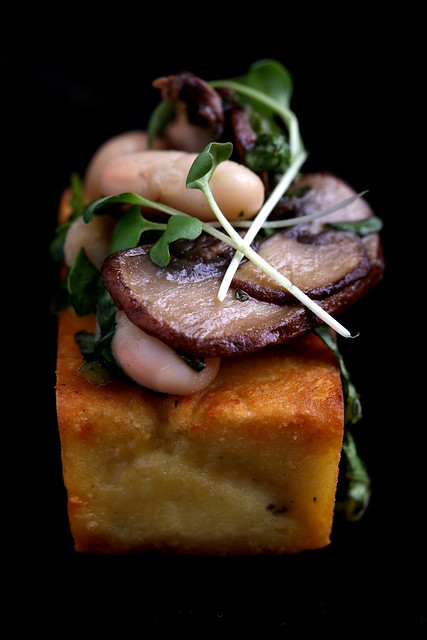
Panisse is basically chickpea flour and water that’s been cooked, cooled until firm, then sliced and fried until delicately crispy on the outside and smooth and soft on the inside. You can top it with whatever you want, but I like it with a mixture of soft cannellini beans, fresh basil and mushrooms. It’s clean, earthy, rich and colorful. So although this is not really bruschetta, it’s kind of the same concept that’s equally but uniquely delicious.

Get This Recipe In Your Inbox
Share your email, and we'll deliver it straight to your inbox.
Plus, enjoy new content every week as a bonus!

PANISSE BRUSCHETTA
- Total Time: 12 hours 30 minutes
- Yield: 21 oz. block of panisse
Ingredients
for the topping
- 2 tsp olive oil
- 1 1/2 cups cremini mushrooms, thinly sliced
- 1/2 tsp salt
- 15 oz. can of cannellini beans, rinsed
- 3/4 cup basil, cut chiffonade
for the chickpea cakes
- 1 cup chickpea flour
- 2 1/4 cups water
- 1 TB olive oil
- few pinches of salt and pepper
Instructions
To make the topping
- Heat the olive oil in a pan over medium heat, then add in the sliced mushrooms. Once they are soft, sprinkle with the salt. It will seem like a lot of salt, but it will be balanced out by the beans.
- Let the mushrooms cool, then combine with the cannellini beans and chopped basil. Place in the refrigerator to cool and allow the flavors to mingle for an hour to overnight.
To make your chickpea batter
- Whisk together all of the chickpea cake ingredients. Cover and leave out on your counter a few hours to overnight to slightly thicken.
- To cook your chickpea batter, preheat an empty nonstick skillet over medium heat. Drizzle a few tablespoons of olive oil into the pan, and wait a minute or two more for the oil to warm. You’ll want the panisse to sizzle when it hits the pan.
- Pour the batter into the preheated skillet. Immediately and continuously stir the batter with the whisk until thickened, (about 5 minutes), then switch to using a heat-resistant rubber spatula to stir continuously for a few minutes more. Once it starts pulling away cleanly from the pan stir for an additional 1-2 minutes more, then transfer the batter to a greased glass container. (I use an empty TofuXpress to get a nice square shape.)
- Let it slightly cool, then cover it with plastic wrap so it touches the top to create a seal, then place it in the refrigerator to completely cool for about an hour or so until firm, or up to overnight.
To pan fry the panisse
- Cut the cooled block in half, then slice each half into 1/2-inch thick pieces. It’s important that the slices are no thicker than that. Preheat an empty skillet over medium heat for a few minutes, then place 1 or 2 tablespoons of olive oil into the pan, then carefully add in the panisse slices. Saute each side for 3-5 minutes, or until golden but not browned.
You can also bake panisse instead of pan frying it. To bake it, lightly oil a baking sheet and bake at 375 for 10 minutes. Flip the pieces over, then bake for an additional 10 minutes, or until slightly golden around the edges.
To serve the panisse bruschetta, let the chickpea cakes cool off, then spoon the desired amount of topping over them. Serve immediately.
- Cook Time: 30 minutes


well making this tonite, thank you so much for this recipe!
Wow these look incredible.
Sorry about your dental troubles. I've suffered with crappy teeth my entire life, always something that needs doing, which is why I hate going to the dentist!
Thank you! You know, after all of this I still don't mind the dentist for some reason, but I can certainly understand hating going to the dentist!
goodness, what a childhood story! i'm sorry this is going on for you, that really blows. i hope things work out!
at first glance, i thought it was kind like socca, but only thicker. but obviously, it's not. it looks delightful.
thanks, I do too! : ) Panisse is really similar to socca — except because it's sliced thin and browned on each side, it gives it a completely different texture and look. Socca tastes eggy or omelet-like to me, while panisse tastes more like french fries.