Yeast can feel like a mystery ingredient. It’s tiny, beige, and quiet—until it suddenly turns a bowl of flour into a living, rising dough. But that magic only happens if the yeast is alive. When it’s not, you’ll know it the hard way: a bowl of dense dough that never lifts. The good news is that it takes less than ten minutes to learn exactly how to tell if your yeast is good, and the method is nearly foolproof.

Think of yeast as something that wakes up when the conditions are right. Give it warmth and a little sugar, and it comes to life; give it the wrong environment, and it stays quiet. Once you understand what’s happening inside each granule, this test eliminates guesswork before you use any flour.
Why Testing Yeast Is Worth It
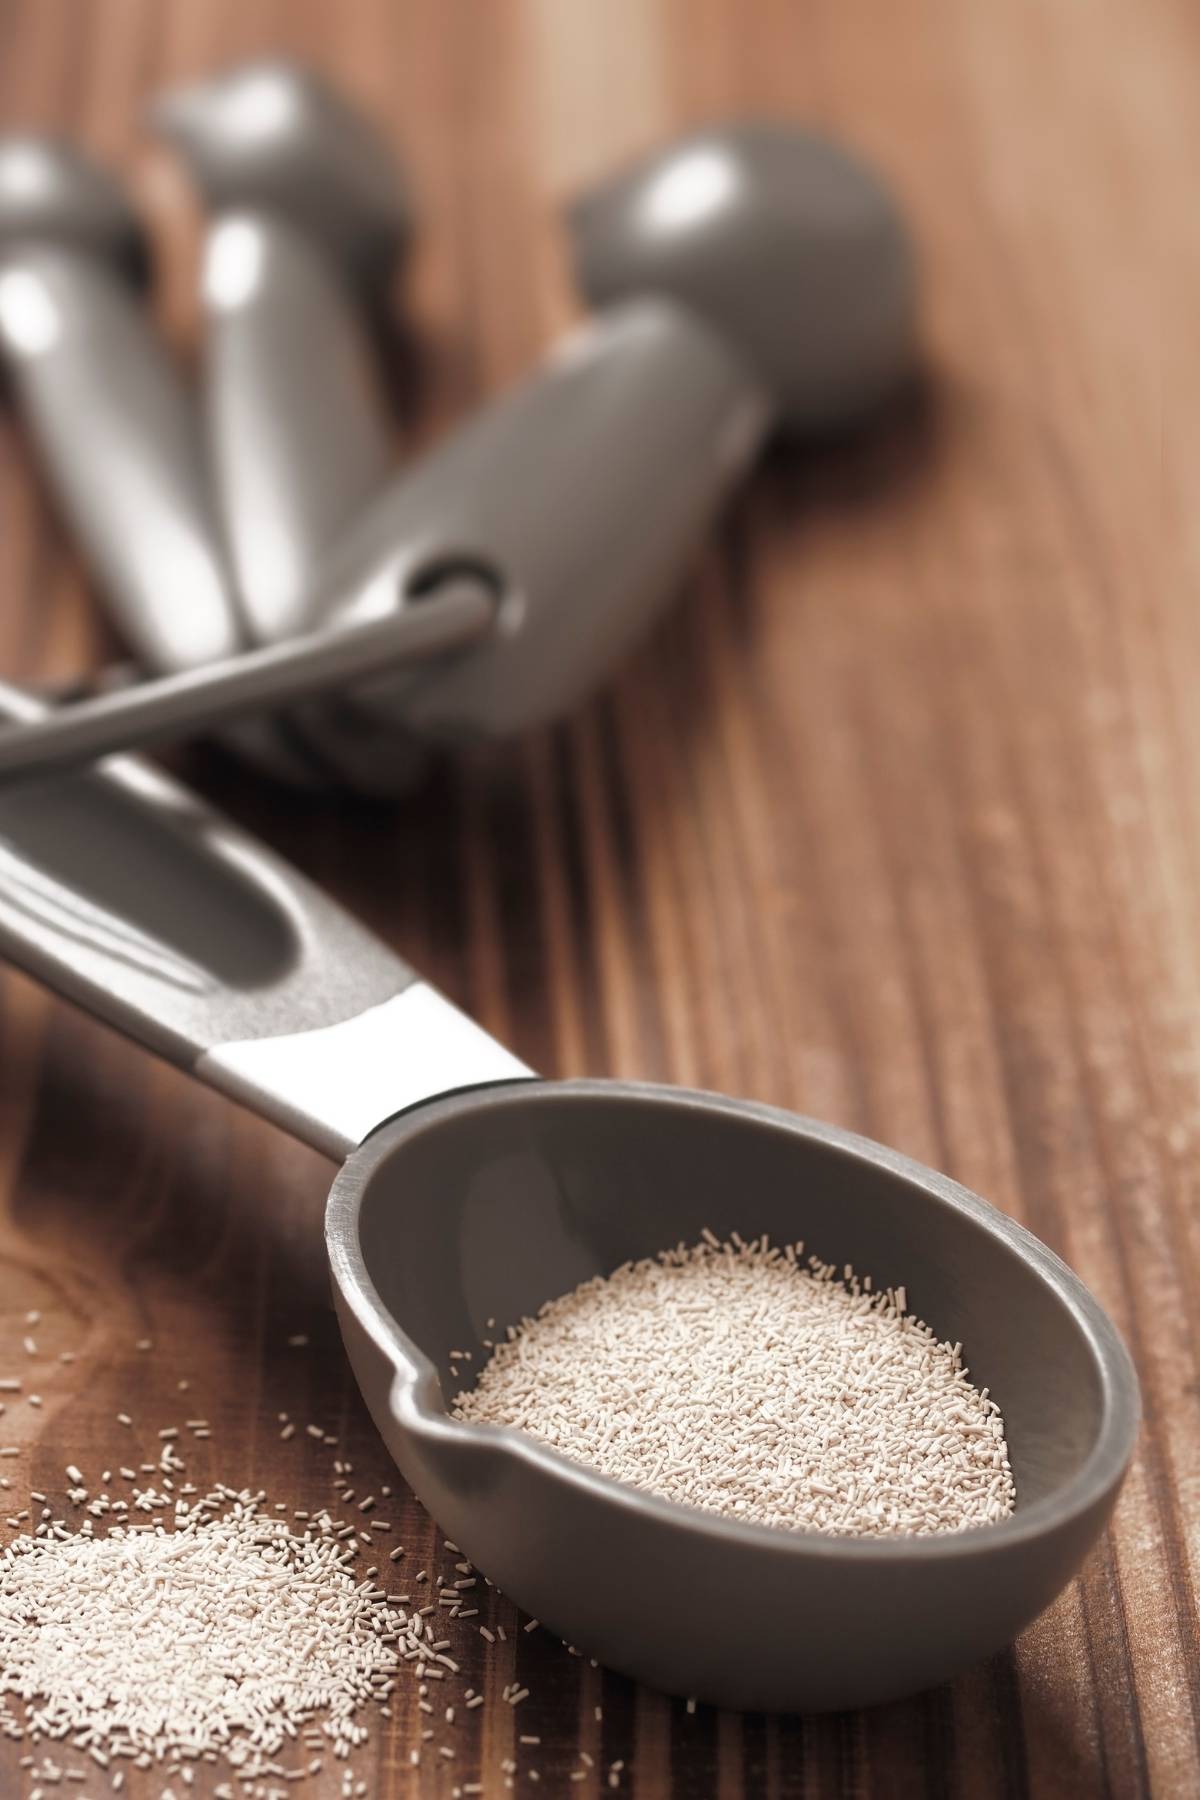
Active dry and instant yeast are both strains of Saccharomyces cerevisiae, a living microorganism that goes dormant when dried. Dormant isn’t dead. It’s just waiting for two things: water and warmth. When those hit, the yeast wakes up. Offer it sugar, then it throws a party. The bubbles you see? That’s carbon dioxide: the same gas that puffs your dough, builds structure, and gives bread its lift. Proofing is simply asking yeast if it’s alive. No bubbles means no party. And no party means no bread.
Why Testing Yeast Works
Yeast only needs three things to prove it’s alive: warmth, water, and something to eat. When those hit the dried granules, the cells begin rehydrating and switching back on. Give them a little sugar, and they immediately start metabolizing it, releasing carbon dioxide as a byproduct. That CO₂ is what creates bubbles and foam—the visual cue that the yeast is awake and working.
This quick test works because it puts yeast in the ideal environment to show you what it can do. If it’s viable, the reaction is obvious within minutes. If it’s not, the mixture stays flat and quiet, no matter how long you wait. Instead of guessing or hoping your dough will rise later, you’re watching it in real time, before you use any flour.
How to Tell If Your Yeast Is Good (Step-by-Step)
The goal is to wake the yeast gently and give it a single, easy carbohydrate to feast on. If it’s alive, you’ll know fast. Here’s what you’ll do:
- Step 1: Warm the water – Use water between 105°F and 115°F. Below 95°F and the yeast wakes slowly; above 120°F and you start killing cells. If you don’t have a thermometer, the water should feel like a warm bath, not a hot tub.
- Step 2: Add sugar – Half a teaspoon is plenty. Sugar provides a simple fuel source that kicks fermentation into gear quickly. Yeast can ferment flour just fine, but sugar jump-starts the metabolism so you see the bubbles form within minutes.
- Step 3: Add the yeast – Use the amount your recipe calls for. Sprinkle it over the surface so it hydrates evenly.

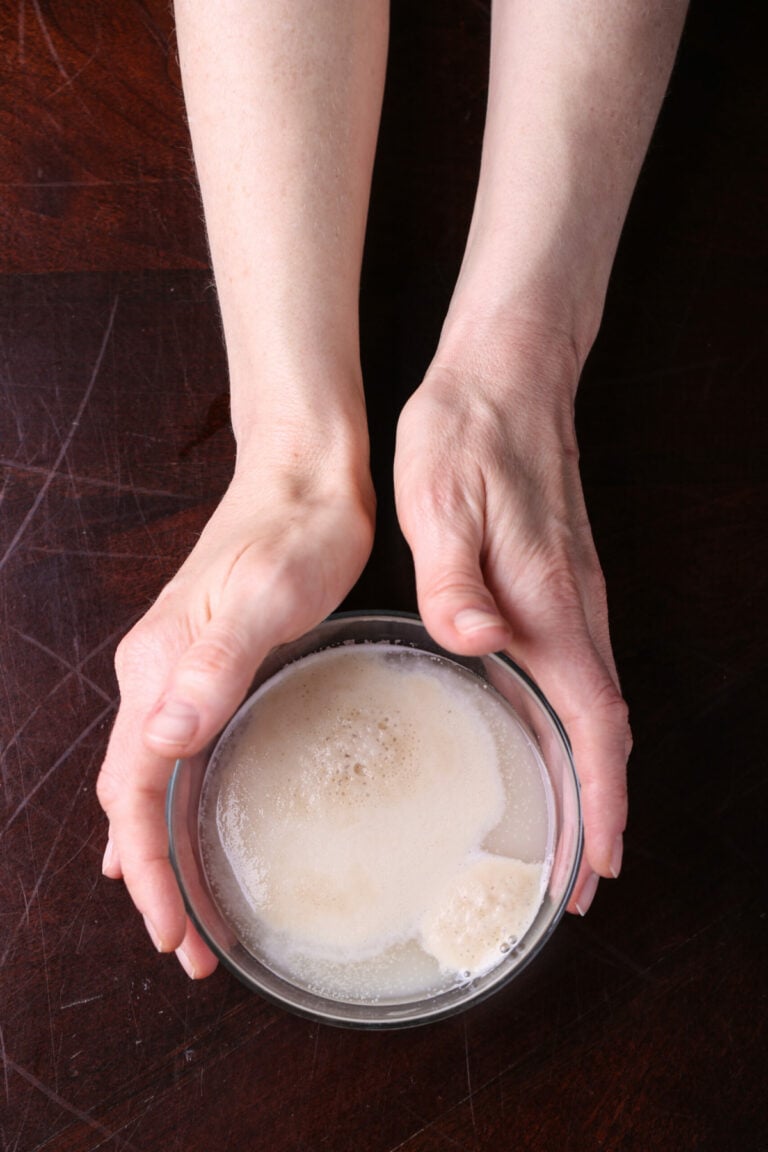
- Step 4: Wait 5–10 minutes and watch – Good yeast will create a creamy, beige foam that lifts and expands across the surface of the water. You’ll see bubbling, a subtle aroma, and a texture that looks almost mousse-like. That’s CO₂ escaping—your yeast is alive.
Note: You don’t need to proof the full amount of yeast called for in a recipe. Testing just ½ teaspoon is enough to confirm whether the yeast in your packet or jar is still active. Yeast activity is consistent throughout the container, so a small sample gives you an accurate read.
If nothing happens after ten minutes, the yeast is not viable. Replace it before you bake.
What Good Yeast Looks (and Smells) Like
Live yeast shows itself through steady bubbling, a little movement, and a soft layer of foam that builds on the surface. The mixture starts to smell warm and slightly bready, not sharp or sour. Foam thickness varies with temperature and brand, but it should look noticeably more active than when you started.
Bad yeast looks like wet sand in water. It sinks, stays beige, gives off no bubbles, and the surface stays still. If it looks the same at minute ten as it did at minute zero, it’s done.
What If the Yeast Only Partially Foams?
If your yeast produces just a thin layer of bubbles or never fully blooms, it’s telling you something important: it’s alive, but not strong. Partially active yeast can still ferment dough, but it will work slowly and unpredictably. You’ll likely get a weaker rise, longer proofing times, and bread that feels heavier than it should.
This usually happens when yeast is older, stored inconsistently, or stressed by water that’s slightly too cool or too warm. You can still use it in a pinch, but expect to adjust your rise times and temper your expectations. If you want a reliable lift or are baking something that depends on a strong rise, like sandwich bread, or focaccia—it’s best to start with fresh yeast.
Do You Need to Test Instant Yeast?
Usually, no. Instant yeast is milled finer and hydrates faster, so it becomes active more quickly than active dry yeast. But if your packet is old, was stored poorly, or you’re starting an important, time-heavy dough like vegan challah or sourdough bread, it’s worth the quick test. Instant yeast should foam just as quickly as active dry.
How to Store Yeast So It Stays Good Longer
Yeast is happiest cold and sealed. Keep opened packets or jars in the refrigerator or freezer, tucked away from humidity. Yeast doesn’t freeze solid; the granules stay loose and ready to use. The more consistently cool the storage, the longer it stays viable.
Common Yeast-Testing Mistakes
Even a simple proofing test can give unclear results if a few basics are off. These are the issues that throw people the most and lead to slow or inactive yeast.
- Water that’s too hot. Yeast begins dying around 130°F and is fully dead by 140°F, so anything hotter than a warm bath will skew the test.
- Skipping the sugar. Yeast doesn’t need sugar in dough, but adding a pinch here makes the activity easier to see — especially with older or sluggish yeast.
- Adding salt too early. Salt inhibits yeast activity, so leave it out during the test. You’re creating a quick metabolic runway, not seasoning the mixture.
When Yeast Passes the Test—But Dough Still Doesn’t Rise
If the yeast foams but your dough goes nowhere, the problem isn’t the yeast. Low-protein flour, too much fat or sugar, cold dough temperatures, or an under-kneaded gluten network can all stall a rise. The yeast did its job, but other factors kept the rise from happening.
FAQs
You only need warm water (105°F–115°F), a pinch of sugar, and the yeast you want to test; the mixture should foam within 5–10 minutes if the yeast is good.
Yeast is bad if it doesn’t foam or produce bubbles during a 5–10 minute proofing test with warm water and sugar.
You can use expired yeast only if it foams during the proofing test; if it stays flat, it’s no longer viable.
No—dead yeast can’t produce carbon dioxide, so dough made with it will never rise.
The Bottom Line
Testing yeast is ten minutes of insurance. It saves ingredients, guarantees a strong rise, and gives you a quick snapshot of what’s happening biologically. Once you see that little mound of foam bloom across the surface, you know your dough has a good chance, and you’re not baking blind. Your bread will thank you later!
Bread Recipes to Try Once Your Yeast Is Active
Get This Recipe In Your Inbox
Share your email, and we’ll deliver it straight to your inbox.
Plus, enjoy new content every week as a bonus!
How To Tell If Yeast Is Good
A quick 10-minute test to check whether your yeast is alive and ready to use. This simple method shows you if your yeast will help your dough rise or if it needs to be replaced.
- Total Time: 20 minutes
- Yield: 1 yeast test
Ingredients
- ½ cup warm water (105°F–115°F)
- 2¼ teaspoons yeast (instant or active dry)
- ½ teaspoon sugar
Instructions
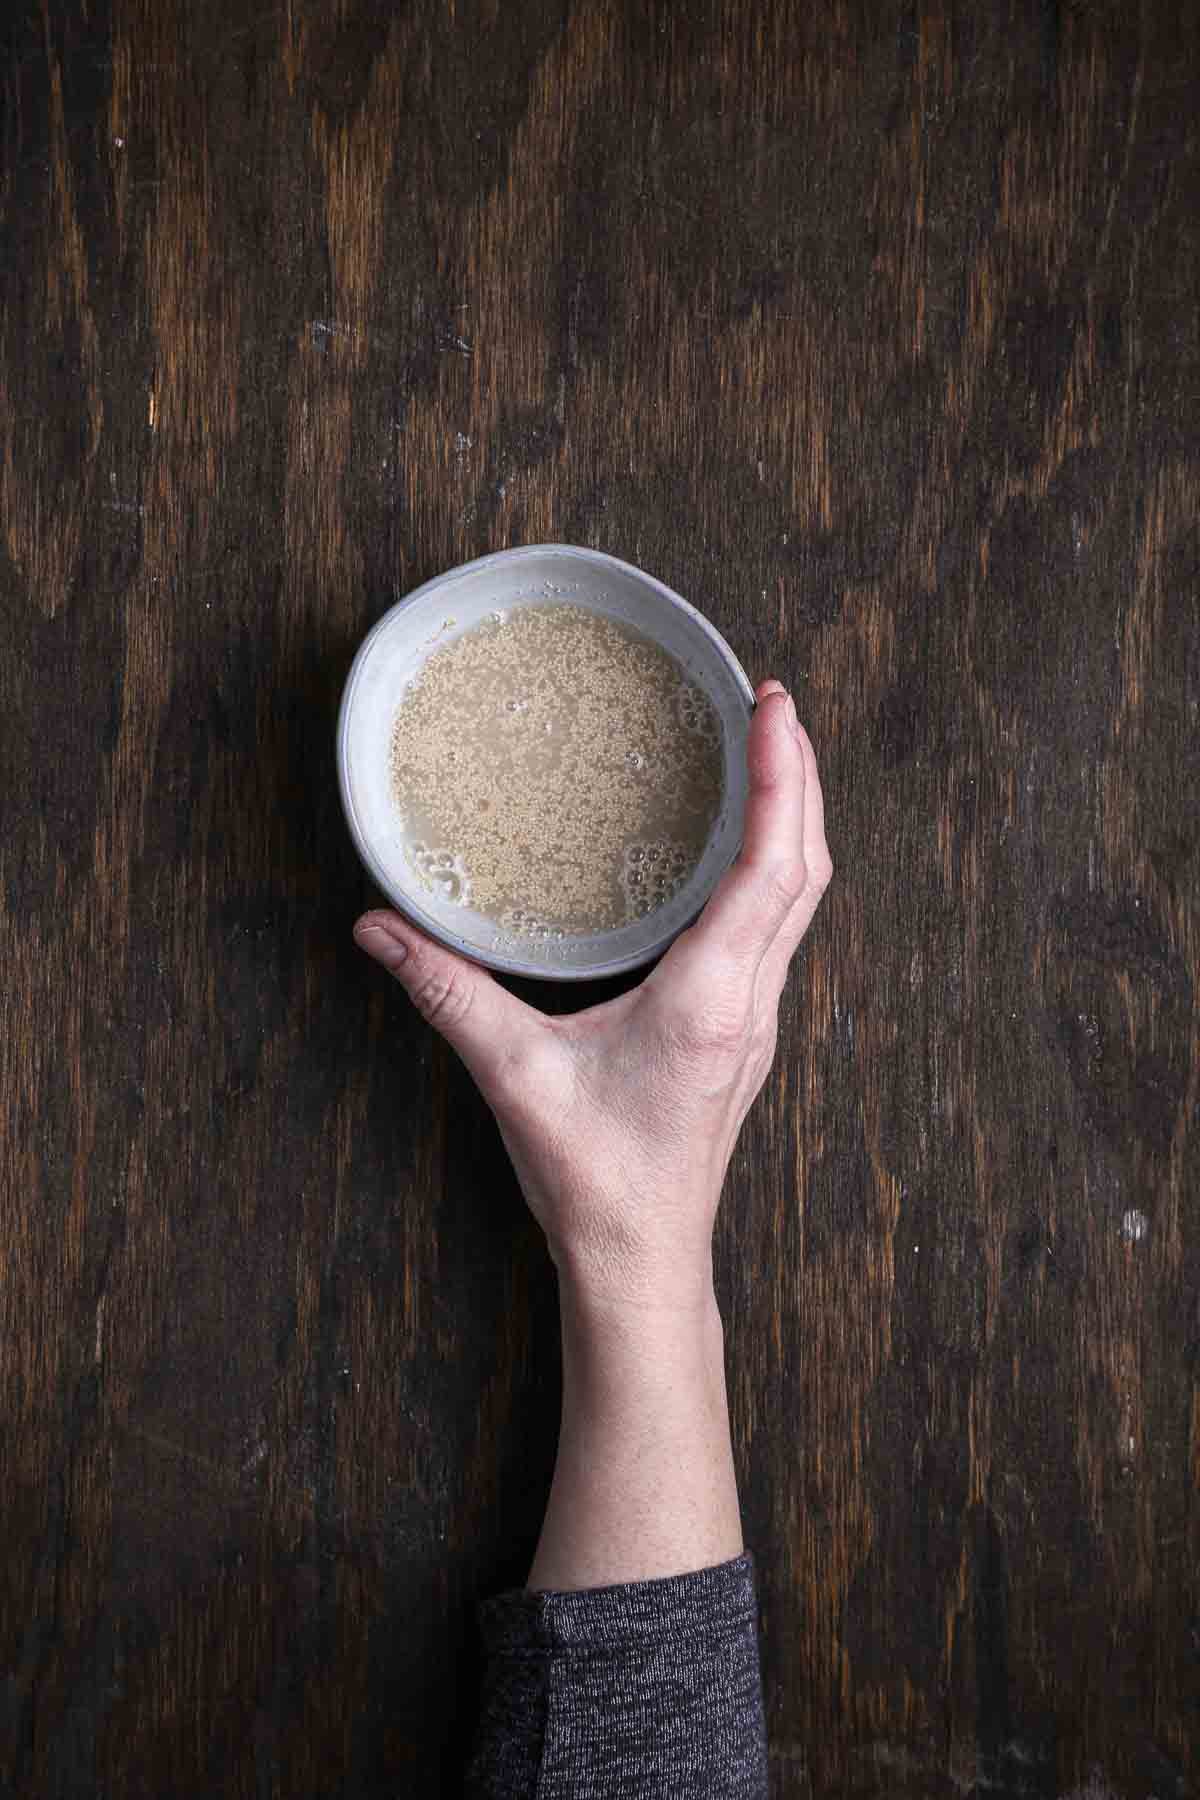
- In a small bowl, combine the warm water and sugar. Sprinkle the yeast over the surface and let it hydrate.
- Wait 5–10 minutes without stirring. Good yeast will form a creamy, bubbly foam across the top.
- If the mixture stays flat with no bubbles or foam, the yeast is no longer active and should be replaced.
Notes
- Foam, bubbling, and a light yeasty aroma are signs of active, healthy yeast.
- If your yeast passes the test, proceed with your dough recipe as planned.
- Prep Time: 10 minutes
- Cook Time: 10 minutes
- Category: Kitchen Basics
- Method: Proofing
- Diet: Vegan