When food is expensive, it helps to know which groceries are actually worth buying. This guide covers 11 ingredients that store well, last long, and can be turned into multiple meals.
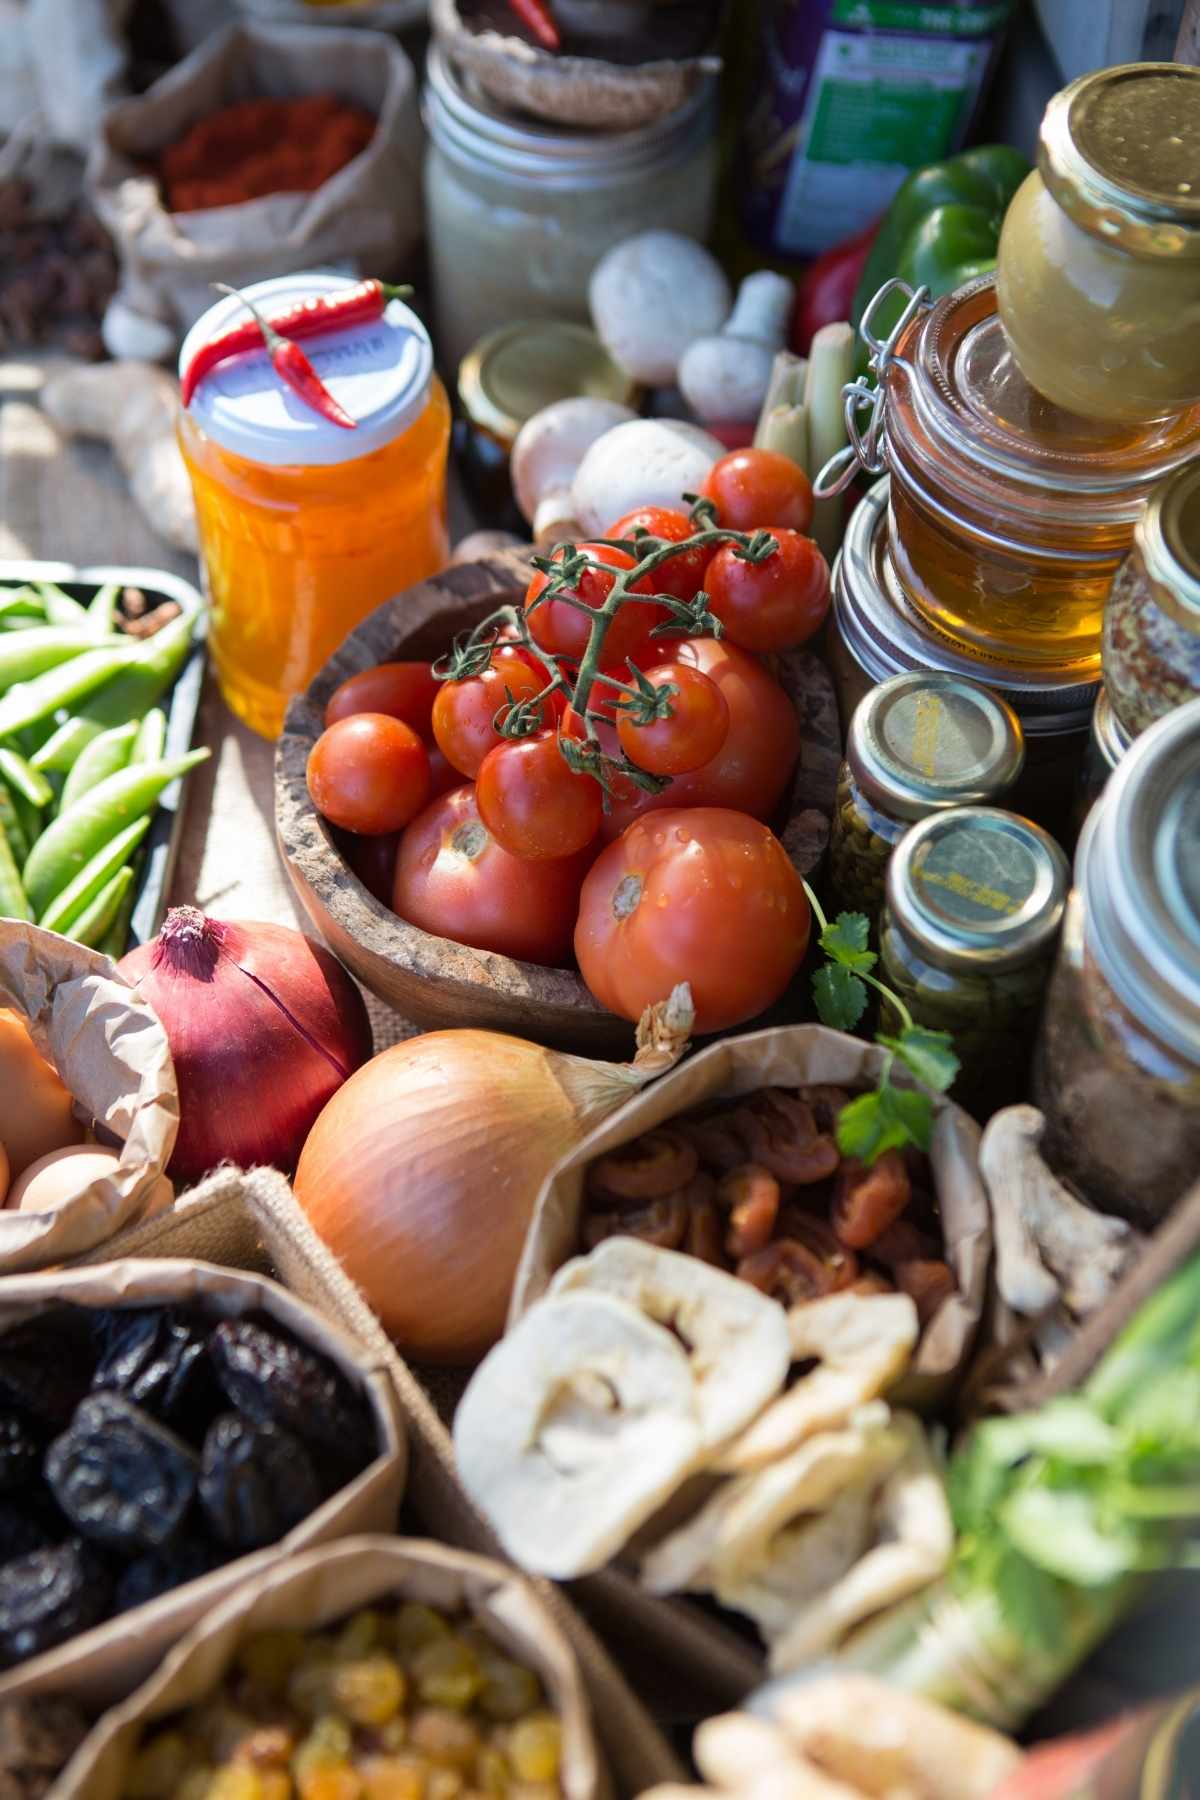
Groceries are getting more expensive, and the reasons behind it—tariffs, supply chain pressure, labor shortages, policy decisions—aren’t likely to resolve anytime soon. While none of that is easy to absorb, it does make the buying decision clearer: prioritize ingredients that keep longer, stretch further, and can carry more than one meal.
This guide focuses on 11 ingredients that do exactly that: cabbage, onions, carrots, potatoes, sweet potatoes, winter squash, rice, beans, lentils, canned tomatoes, and oats. Not because they’re trendy or particularly exciting on their own, but because they store well, work across cuisines, and stretch further than most ingredients.
What matters here is how they’re used—how to choose them, store them so they last, and use them in ways that turn into filling meals. A head of cabbage lasts weeks. Dried beans outlast almost everything else in the pantry. Oats work just as well savory as sweet. These aren’t backup ingredients—they’re the foundation.
How To Use This Guide
Use this guide in three ways: start with what stores the longest, choose ingredients that can work across multiple meals, and combine a base, a protein, and a flavor builder to make the most of what you buy.
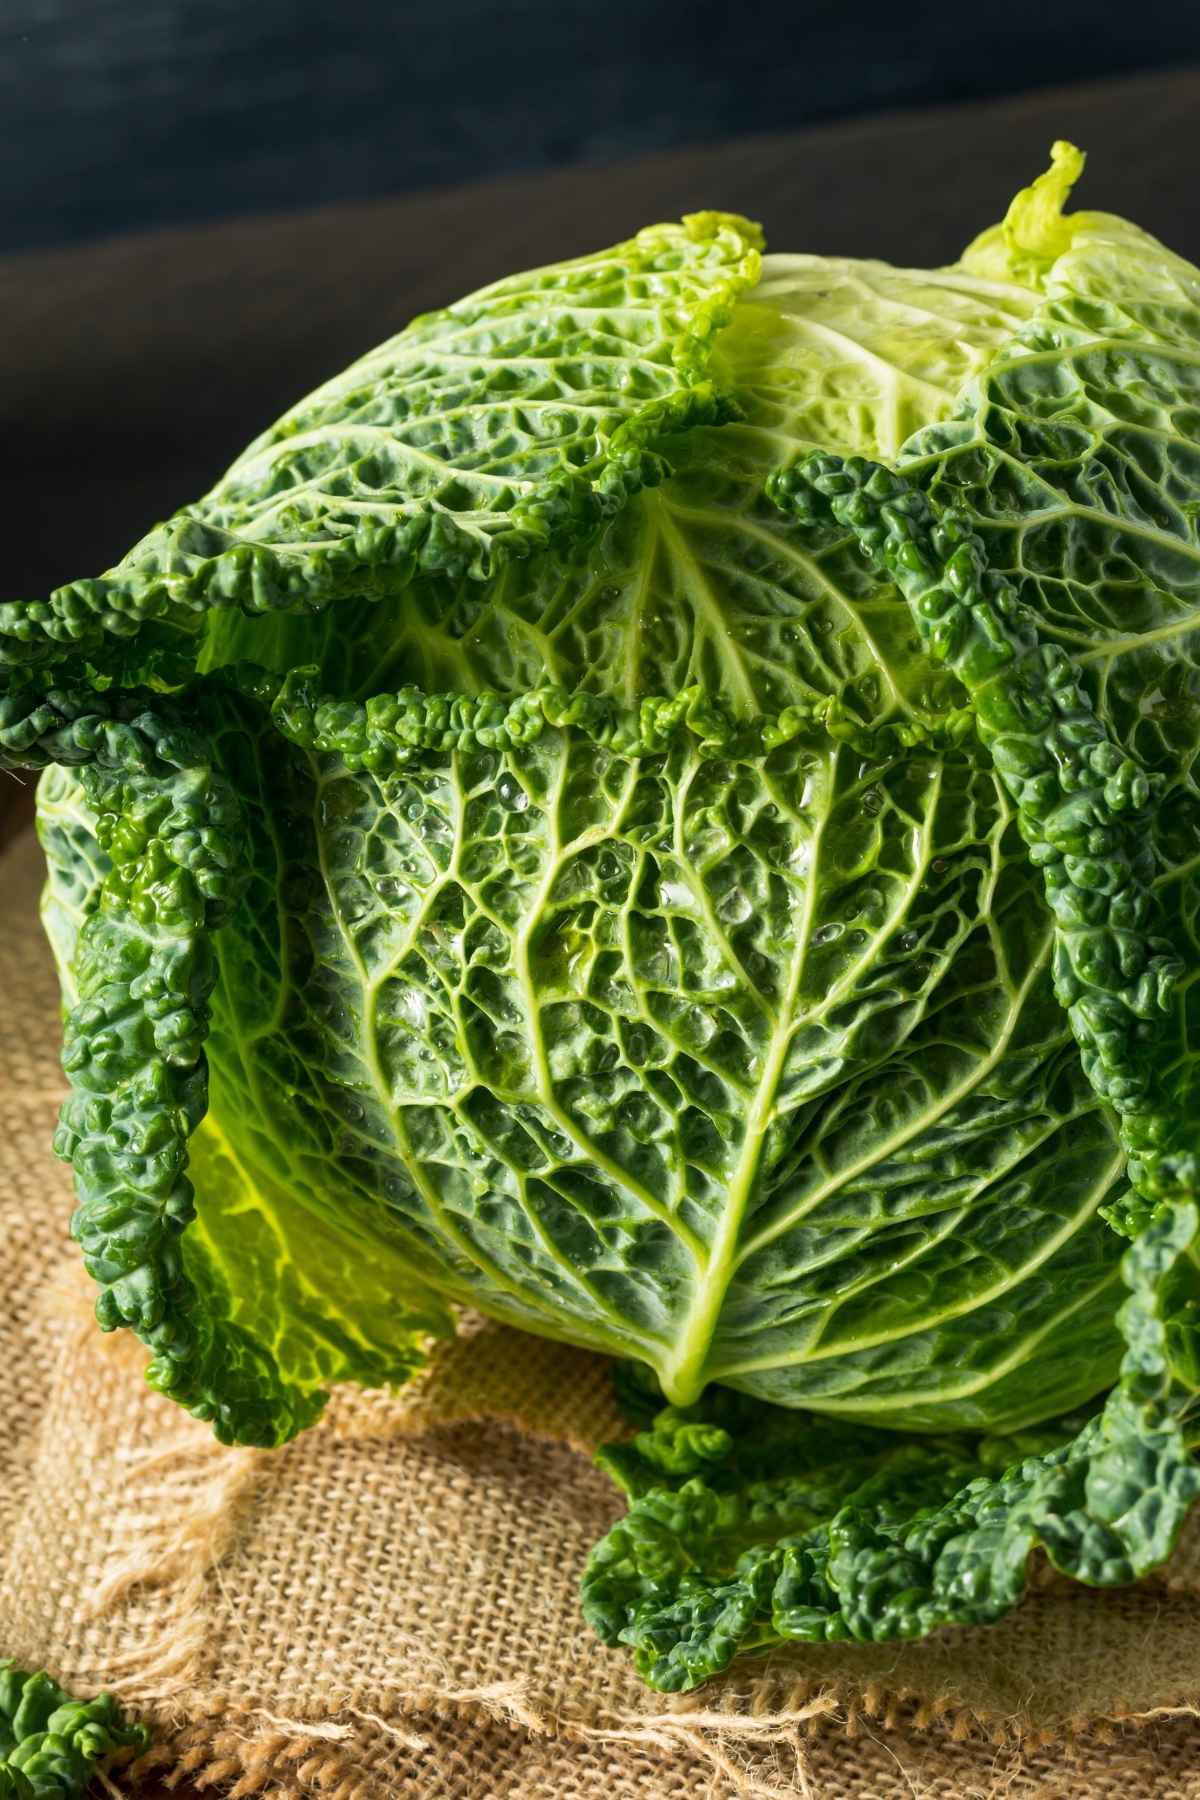
Cabbage
Cabbage is grown year-round across the U.S.—primarily in California, Wisconsin, New York, Florida, and Texas—which helps keep it consistently available. It stores well and doesn’t require quick turnover, making it one of the easiest vegetables to keep on hand.
- How to select: Look for heads that feel dense and heavy for their size with tight outer leaves. Green is the most versatile. Red holds up better raw. Savoy is softer and works well cooked.
- Storage (how long cabbage lasts): Whole green or red cabbage keeps 1–2 months in the refrigerator in a plastic bag in the crisper drawer. Don’t wash it until you’re ready to use it. Savoy is shorter—about 1–2 weeks. Once cut, wrap tightly or store in an airtight container and use within 3–5 days.
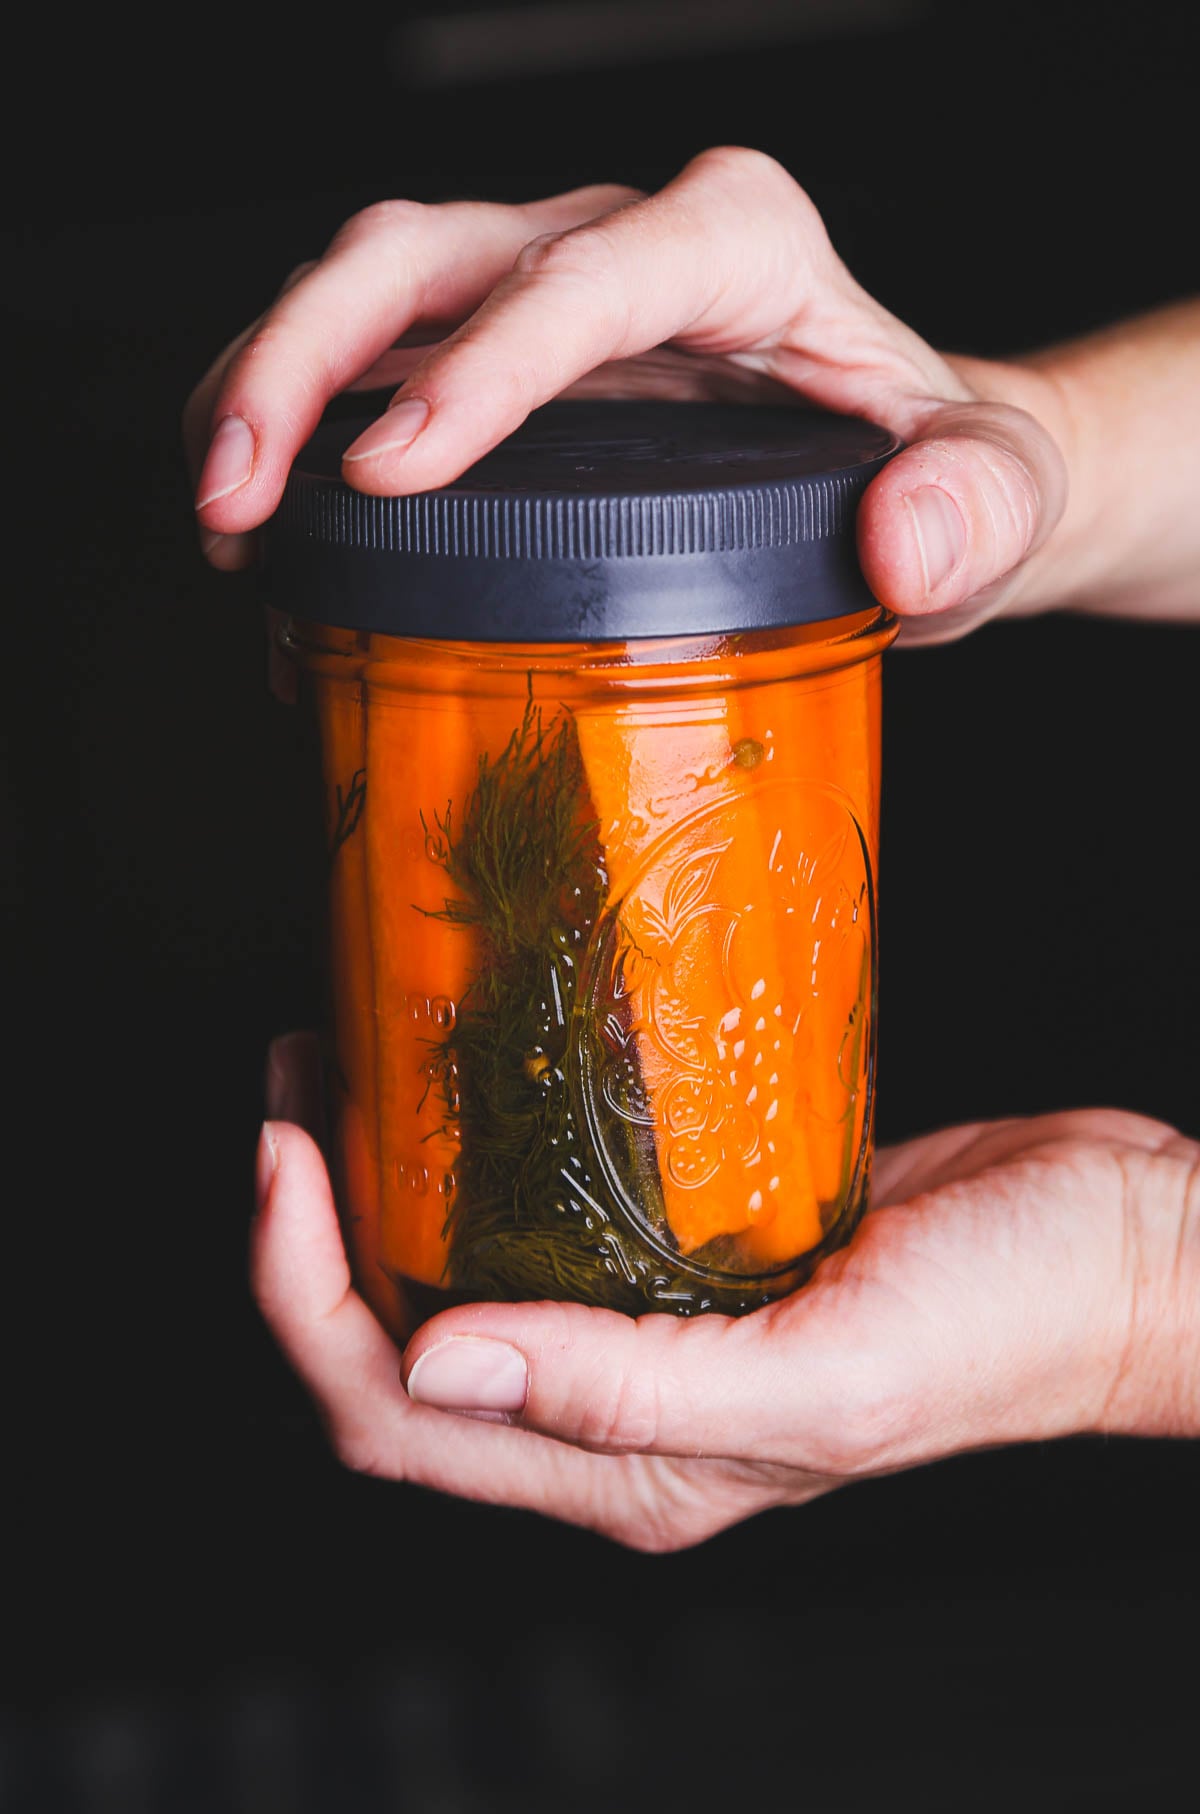
- What to do with it: Shred raw for slaw or quick-pickle with vinegar, salt, and sugar for a taco topper. Sauté with oil and garlic over medium-high heat until the edges caramelize, about 15 minutes, then finish with a splash of vinegar. Simmer into soup with broth and white beans. Roast in wedges. Stuff it.
- Worth knowing: Cabbage is one of the few vegetables that can be eaten at every stage—raw, wilted, fully sautéed, braised, fermented—which means nothing goes to waste.
Onions
Onions are grown and stored year-round across the U.S., so they’re easy to find no matter the season. They keep well in dry storage and hold their flavor over time, making them easy to keep on hand.
- How to select: Look for firm, heavy onions with dry, papery skins and no soft spots or sprouting. Yellow onions are the most versatile. Red are sharper and better raw. White are milder and cook quickly.
- Storage (how long onions last): Whole, uncut onions keep best in a cool, dark, dry, well-ventilated spot—a pantry, cellar, or basket on the counter. Not the refrigerator, which introduces moisture and can soften the flesh. Stored this way, they last 2–3 months. Once cut, store in a sealed container in the refrigerator and use within 7–10 days.
- What to do with it: Sauté in oil until soft and lightly golden to build a base for soups, beans, and grains. Cook low and slow—45 minutes minimum—and they caramelize into something almost sweet. Slice raw for salads, sandwiches, or quick-pickle in vinegar and salt for tacos and grain bowls. Add to rice, lentils, roasted vegetables, soups, stews, and curries. Roast whole. They go in everything.
- Worth knowing: Onions should be stored away from potatoes. Each releases gases that accelerate the other’s spoilage.

Carrots
Carrots are grown and stored year-round across the U.S., so they tend to stay steady in the rotation. They store well in the refrigerator, but storing them properly is key; otherwise they’ll go soft quickly.
- How to select: Look for firm, smooth carrots with no cracks or soft spots. Avoid anything rubbery or bendable. If they come with tops, bright green means fresh; wilted tops mean the carrot has been sitting.
- Storage (how long carrots last): Remove tops before storing—they pull moisture from the root and accelerate softening. Store whole carrots in a sealed bag in the crisper drawer. Properly stored, they last 3–4 weeks. Once cut, store in a sealed container in the refrigerator, cover with fresh cold water, and use within 1–2 weeks.
- What to do with it: Roast whole or chop and drizzle with oil and salt until caramelized at the edges. Slice thin and sauté with garlic and ginger for a base. Add to soups, stews, curries, and lentils. Shred raw into slaws or grain bowls. Blend into sauces or soups for sweetness. Make carrot lox to mix things up.
- Worth knowing: If carrots go limp, submerge them in cold water in the refrigerator for a few hours—they’ll crisp back up.
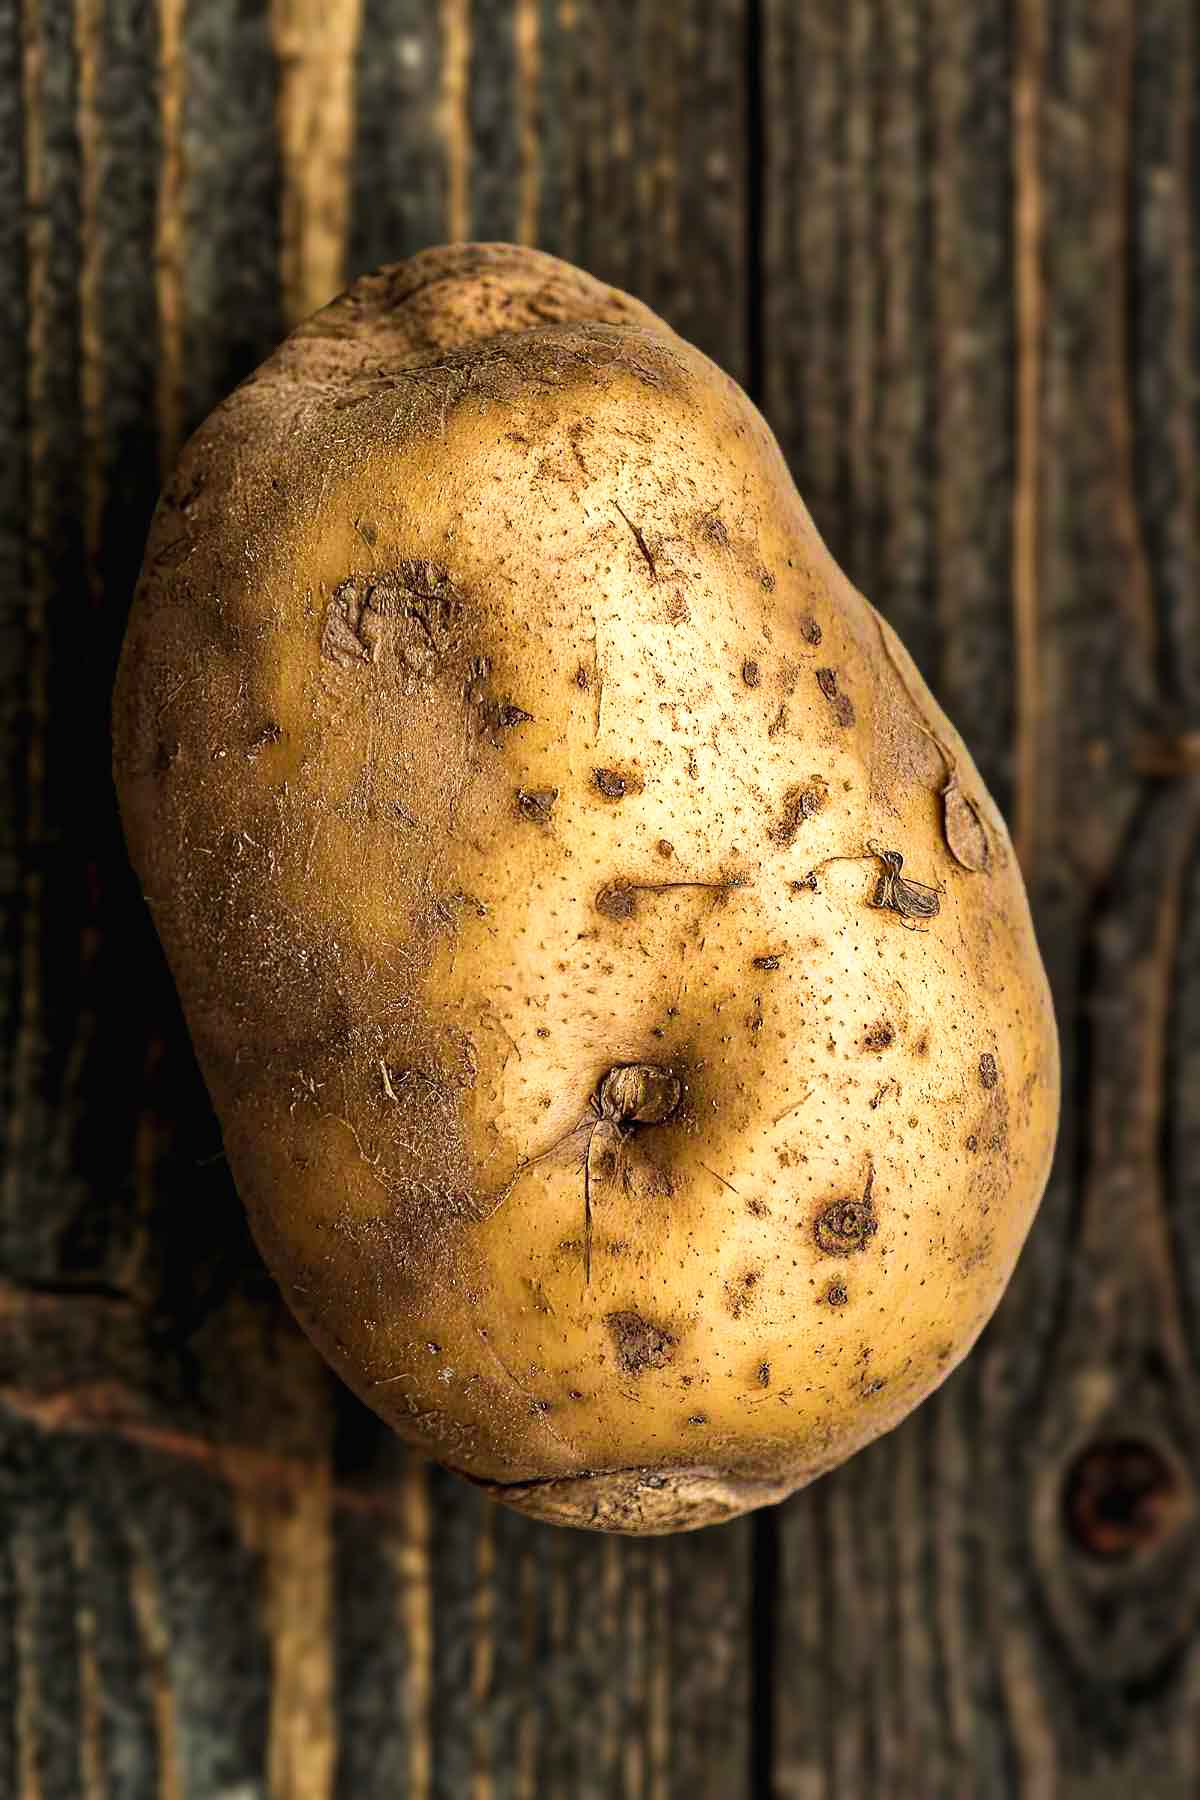
Potatoes
Potatoes are grown across the U.S. and store well in dry conditions, which makes them one of the most reliable ingredients to keep on hand. They’re dense, filling, and can carry a meal without much added.
- How to select: Look for firm potatoes with smooth skin and no soft spots, wrinkles, or green patches. Avoid any with significant sprouting when possible. Dirt is fine—moisture or dampness is not.
- Storage (how long potatoes last): Store whole potatoes in a cool, dark, dry place—a pantry or cupboard works well. Not the refrigerator: cold temperatures convert starches to sugars, which changes both flavor and texture when cooked. They’ll keep for 2–4 weeks under good conditions. Store away from onions—both release gases that accelerate each other’s spoilage. Once cooked, refrigerate and use within 3–4 days.
- What to do with it: Boil and smash, then roast until crisp at the edges. Cube and roast with oil and salt for bowls or sides. Slice thin and bake with onions or layer into simple gratins. Add to soups and stews for body. Stuff baked potatoes with beans, greens, or whatever you have on hand. Try making roasted smashed potatoes or potato soup.
- Worth knowing: If potatoes start to sprout, you can still use them—just cut away the sprouts and any green spots before cooking.
Sweet Potatoes
Sweeter and softer than regular potatoes, sweet potatoes bring a different kind of bulk—less starchy, more tender, and slightly caramelized when cooked. They store well in dry conditions and hold up over time, making them just as practical to keep on hand.
- How to select: Look for firm sweet potatoes with smooth skin and no soft spots, cracks, or shriveling. Smaller to medium ones tend to be less fibrous—very large ones can be denser and less smooth when cooked. Avoid any with visible mold or deep bruising. In most U.S. grocery stores, “yams” are actually orange-fleshed sweet potatoes.
- Storage (how long sweet potatoes last): Store whole sweet potatoes in a cool, dark, dry place—a pantry or cupboard works well. Not the refrigerator, which can negatively affect texture and flavor. Properly stored, they last about 2–3 weeks, sometimes longer depending on conditions. Once cut, store in a sealed container in the refrigerator and use within 3–5 days.
- What to do with it: Roast whole or halved until soft and caramelized. Cube and roast with oil and salt for bowls or sides. Mash with a little oil or vegan butter. Add to soups, stews, and curries for body and sweetness. Roast and pair with beans, grains, or greens for a full meal. Use them to make sweet potato burgers or pair with beans to make burritos.
- Worth knowing: If a sweet potato feels soft, smells off, or shows signs of mold, it’s past its prime. Otherwise, slight wrinkling is fine—it just means it’s losing moisture, not that it’s unusable.

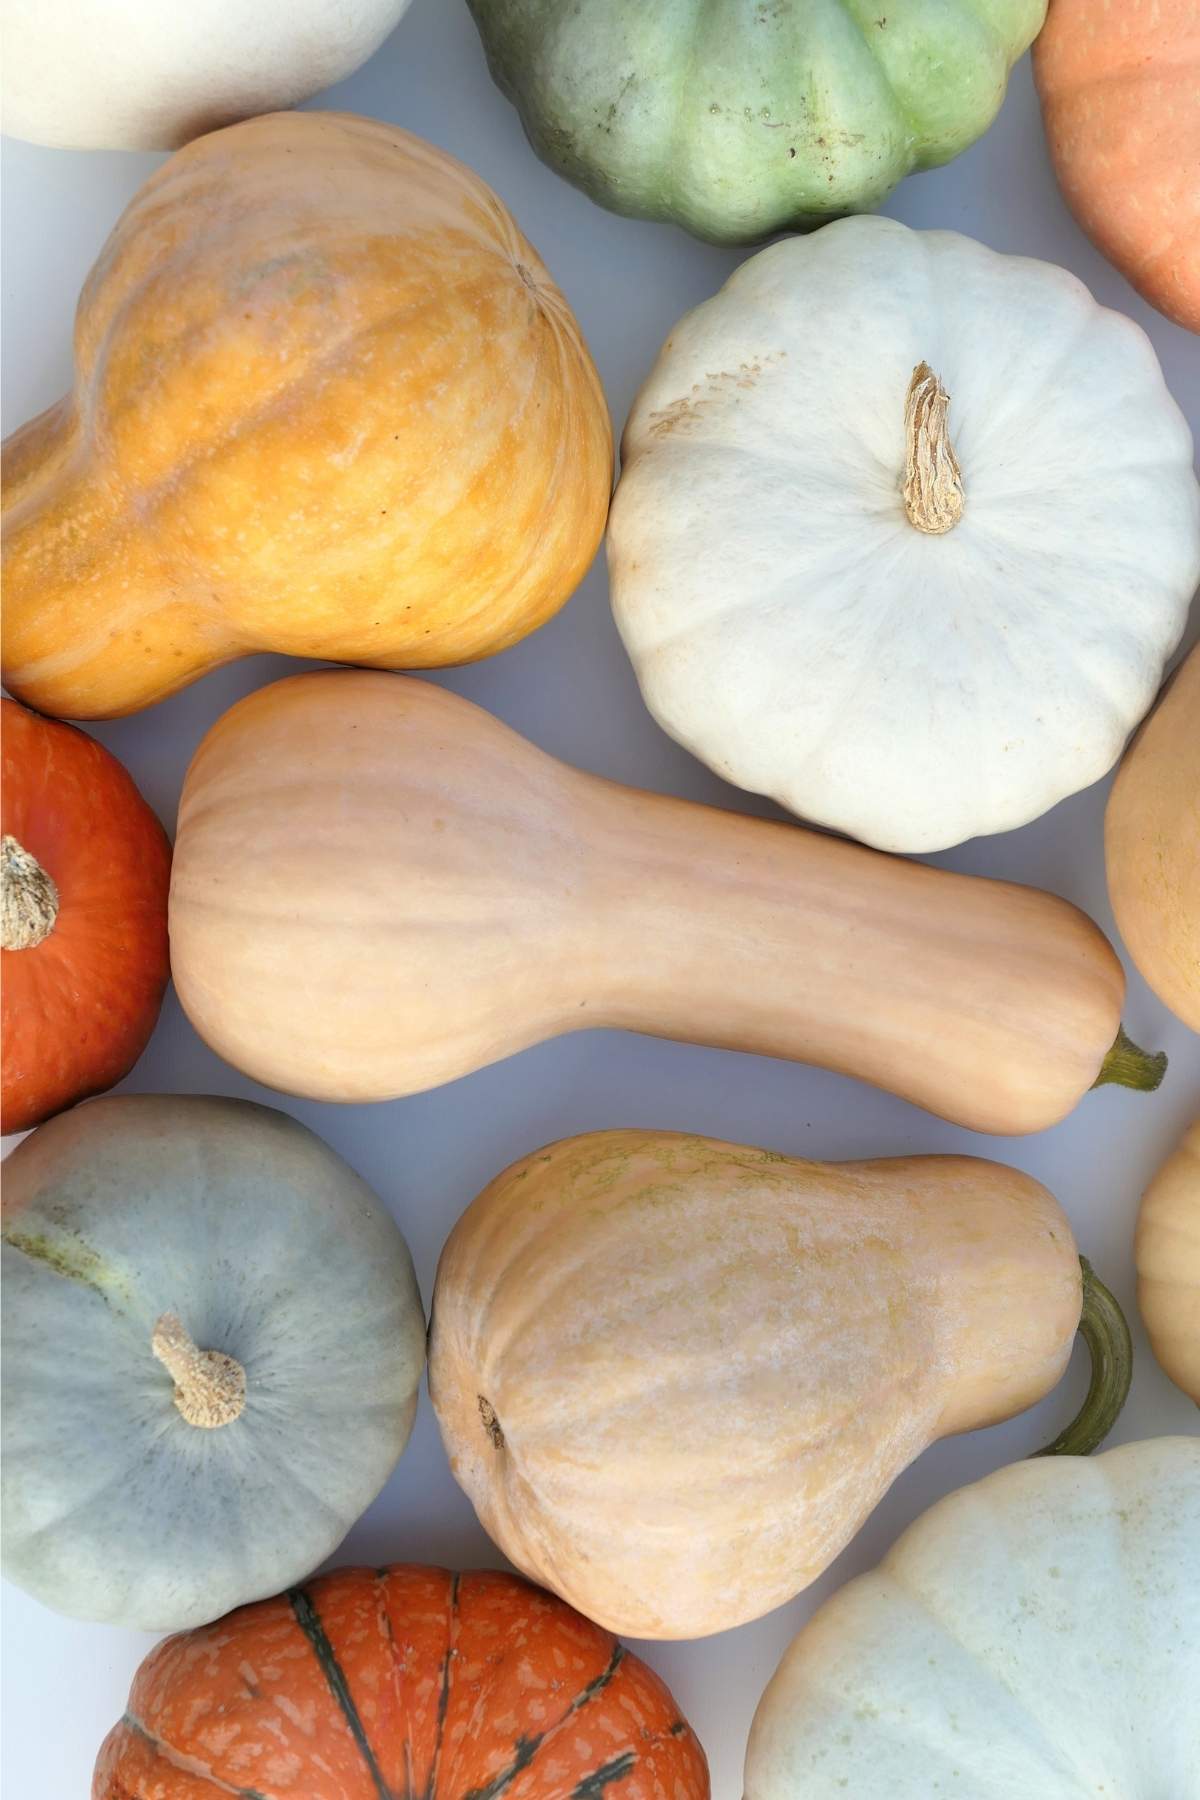
Winter Squash
Winter squash (butternut, acorn, and kabocha) stores longer than most vegetables because of its thick skin, which protects the flesh and slows moisture loss—one of the reasons it’s easy to keep on hand without needing to use it right away.
- How to select: Look for squash that feels heavy for its size with firm, matte skin and no soft spots or cracks. The stem should be intact and dry—this helps prevent early spoilage. Avoid glossy skin if possible, which can indicate it was picked too early.
- Storage (how long winter squash lasts): Store whole squash in a cool, dry place—not the refrigerator. Depending on the variety, they can last a long time. Acorn about 1-2 months, butternut about 2-3 months, and kabocha up to 3-4 months. Once cut, wrap tightly or store in an airtight container in the refrigerator and use within 4–5 days.
- What to do with it: Roast halved or cubed until tender and caramelized. Add to soups and stews for body and sweetness. Mash or purée into sauces. Toss roasted squash with grains, beans, or greens for a full meal. The natural sweetness works in both savory and lightly spiced dishes.
- Worth knowing: Hard skin is what gives winter squash its shelf life—but it also makes it harder to cut. If needed, microwave it for 2–4 minutes to soften slightly before slicing. It also continues to sweeten in storage, as starches slowly convert to sugars over time.
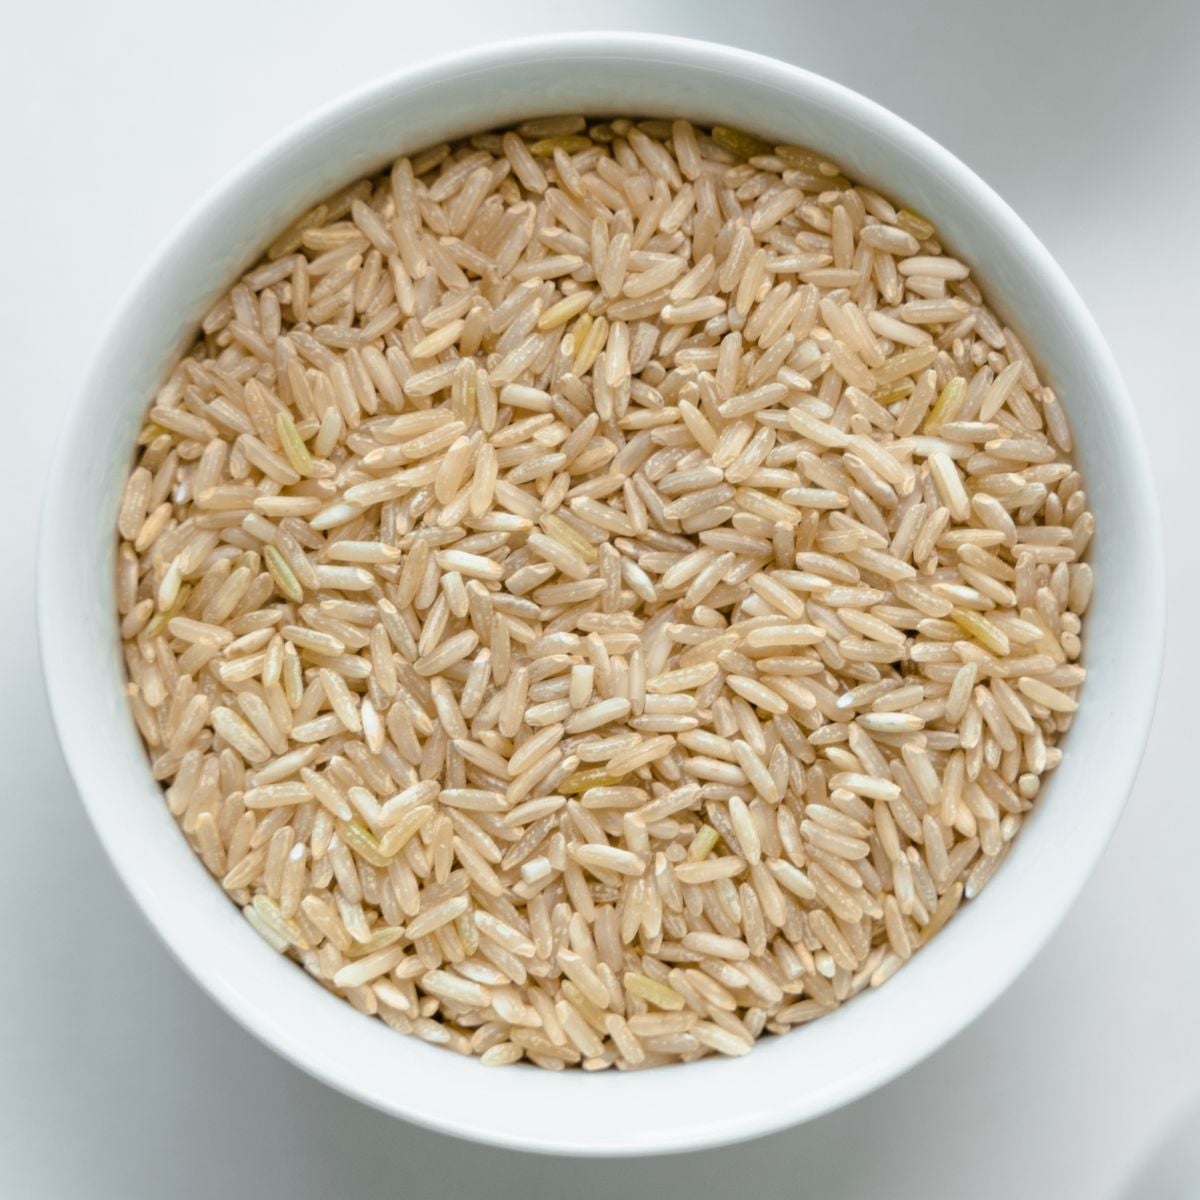
Rice
Rice is one of the most reliable pantry staples you can buy—it’s inexpensive, shelf-stable, and stretches almost anything into a full meal. It keeps for months (or longer), cooks quickly, and works across cuisines, which makes it one of the easiest ways to build meals when options feel limited.
- How to select: White and brown are the most common. White rice cooks faster and stores longer. Brown rice has more fiber and a nuttier flavor but a shorter shelf life because of its natural oils. Long-grain (like basmati or jasmine) cooks up light and separate. Short-grain is stickier and more compact.
- Storage (how long rice lasts): Uncooked white rice keeps 1-2 years (or longer) in a sealed container in a cool, dry place. Brown rice is shorter—about 3–6 months at room temperature, or longer if refrigerated. Once cooked, store in the refrigerator and use within 3–4 days.
- What to do with it: Cook a batch and use it throughout the week. Serve with beans, lentils, or roasted vegetables. Turn leftovers into fried rice, soups, or grain bowls. It absorbs flavor easily, so even simple additions—oil, salt, garlic—go a long way.
- Worth knowing: Use a simple ratio: 1 cup rice to 1½–2 cups water, depending on the type (closer to 1½ for white, 2 for brown). White rice cooks in about 15–20 minutes; brown rice takes closer to 40–45. Let it sit, covered, for 5–10 minutes before fluffing—this finishes the texture.
Dried Beans
Beans are one of the most dependable ways to build a meal with very little. They’re cheap, shelf-stable, and filling. A bag of dried beans can stretch across multiple meals, taking on whatever flavors you give them—from brothy and simple to rich and slow-simmered.
They take a little planning, but not much effort. Once you know how to cook dried beans, they become one of the easiest, most reliable things to keep in rotation.
- How to select: Look for beans that are smooth, evenly colored, and free from cracks or shriveling. Older beans take longer to cook and can stay firm even after simmering. If you can, buy from stores with high turnover or check for a recent packaging date.
- Storage (how long dried beans last): Store dried beans in an airtight container in a cool, dry place. They’ll keep for at least a year, often longer—but the older they get, the longer they take to cook. Cooked beans can be refrigerated for 4–5 days or frozen for longer storage.
- How to cook dried beans: Start by rinsing and sorting through the beans to remove any debris. Soaking is optional but helpful—it shortens cooking time and promotes more even texture. For an overnight soak, cover with plenty of water and let sit 8–12 hours. For a quicker method, bring them to a boil for 2 minutes, turn off the heat, and let sit for 1 hour.
Drain, then add fresh water (about 2–3 inches above the beans), bring to a boil, and reduce to a gentle simmer. Salt during cooking to season the beans through. Cook until tender—usually 45 minutes to 2 hours, depending on the variety and age. Add tomatoes, vinegar, or other acidic ingredients only after the beans are fully soft—acid can slow softening. - What to do with them: Use cooked beans in soups, stews, and chilis, or keep them simple with olive oil, garlic, and salt. Add to grain bowls, mash into spreads, or toss with roasted vegetables. They’re an easy way to add protein and substance without needing much else.
- Worth knowing: If your beans aren’t softening, they’re likely old—or the cooking liquid is too acidic. Ingredients like tomatoes or vinegar can slow softening, so add them after the beans are tender.
Beans expand as they cook, so 1 cup dried yields about 2–3 cups cooked—enough to build multiple meals from a single batch.

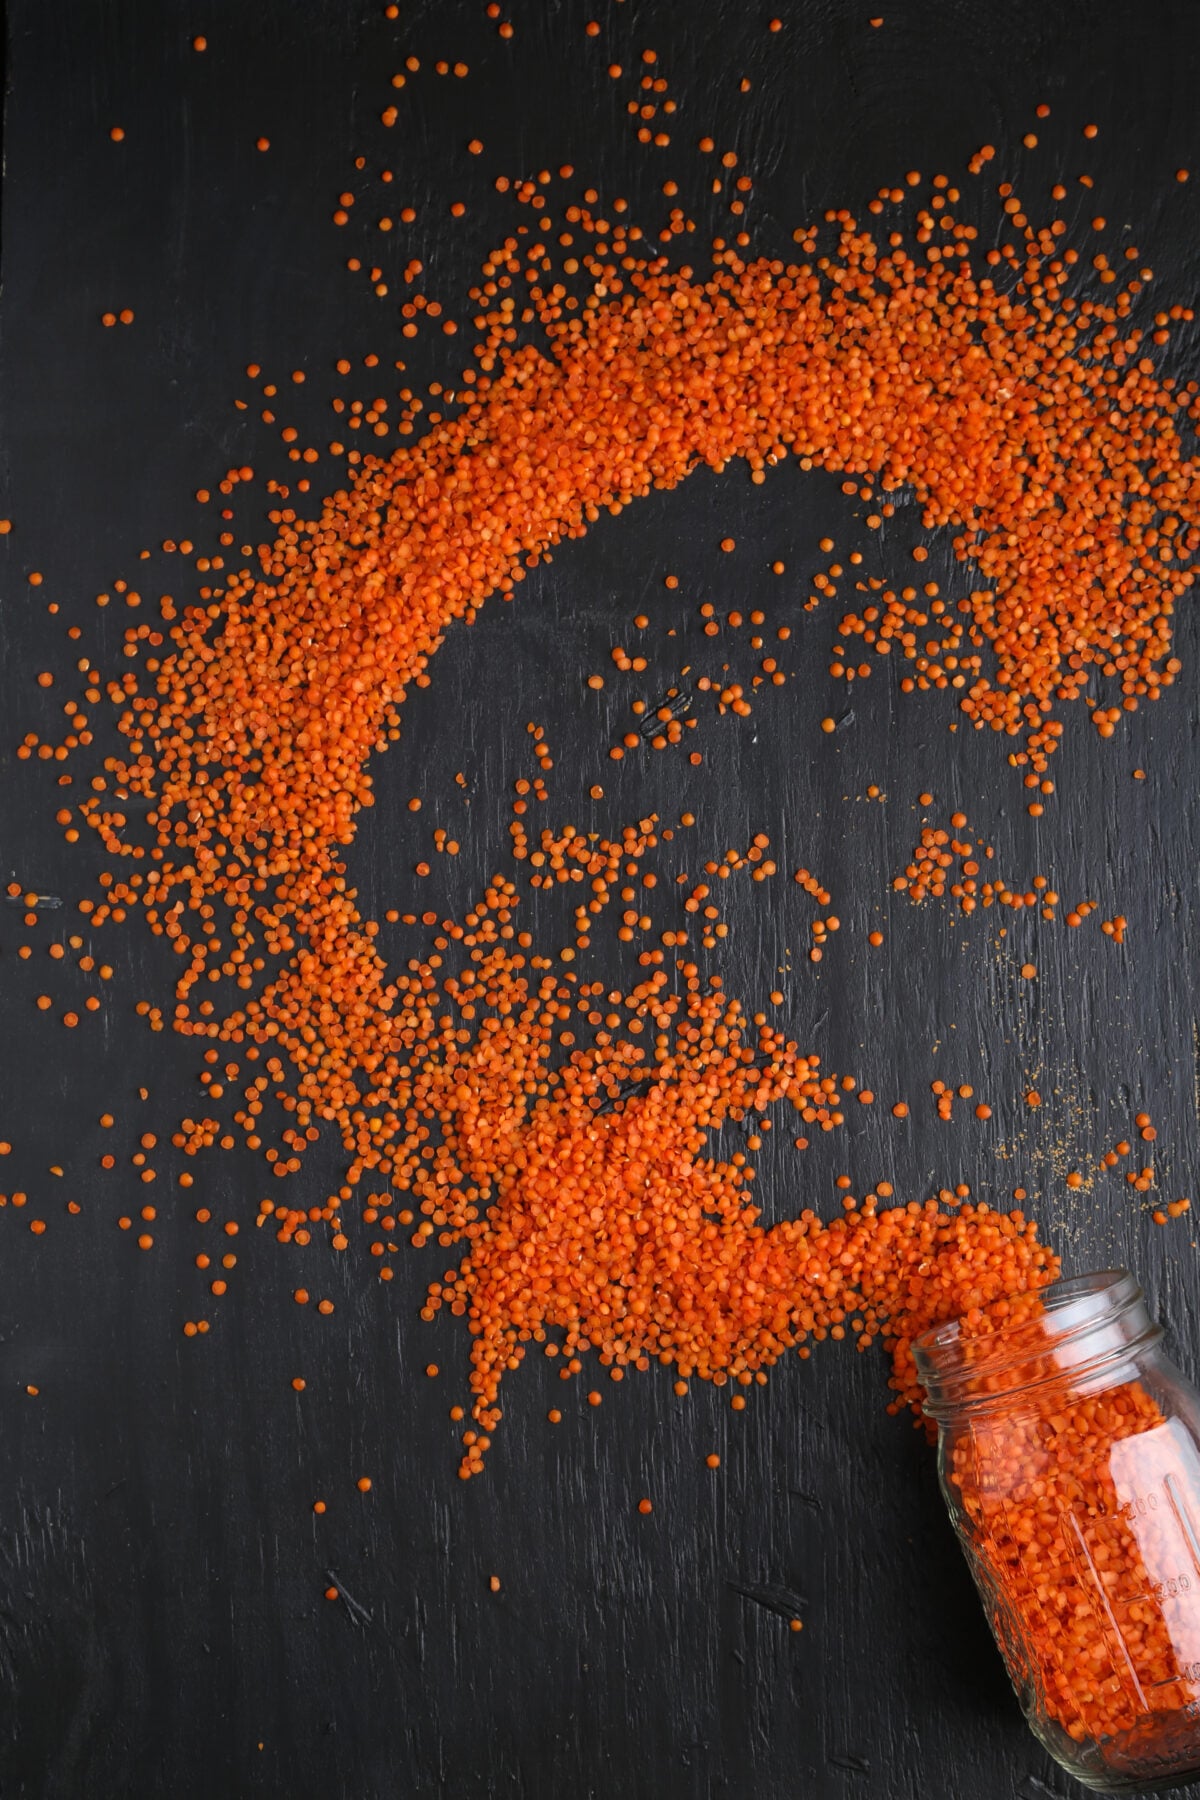
Lentils
Lentils are one of the fastest, lowest-effort ways to make a real meal from pantry ingredients. They cook quickly, don’t require soaking, and still give you the same kind of protein and substance as beans—just with less planning.
They’re also flexible. Some hold their shape, some break down into something soft and stew-like, which means you can steer the final texture depending on what you need.
- How to select: Most lentils you’ll find are brown, green, or red. Brown and green hold their shape and work well in soups, salads, and grain bowls. Red lentils cook down quickly and become soft, making them ideal for stews, dals, and thicker dishes. All should look dry, smooth, and evenly colored.
- Storage (how long lentils last): Store dried lentils in an airtight container in a cool, dry place. They’ll keep for at least a year, often longer. Cooked lentils can be refrigerated for up to 5 days or frozen for later—making them worth cooking in larger batches.
- How to cook lentils: If you know how to cook lentils, you already have a fast, reliable meal. Rinse under cold water and check for debris—no soaking needed. Add to a pot with water—about 3 cups water to 1 cup lentils for brown and green, 2 to 2½ cups for red—bring to a boil, then reduce to a simmer.
Cook until tender: about 15–20 minutes for red lentils, 20–30 minutes for brown or green. Salt during cooking to build flavor, and add acidic ingredients like tomatoes or vinegar after they’ve softened. - What to do with them: Use in soups, stews, and curries, or keep simple with olive oil, salt, and spices. Add to rice or grain bowls, fold into roasted vegetables, or let them cook down into something thicker and more stew-like. They adapt easily to whatever you’re building.
- Worth knowing: Red lentils break down and thicken a dish—green and brown stay more intact. Choose based on the texture you’re after, not just what’s on hand. They also freeze well, so a large batch gives you something ready to drop into meals throughout the week.
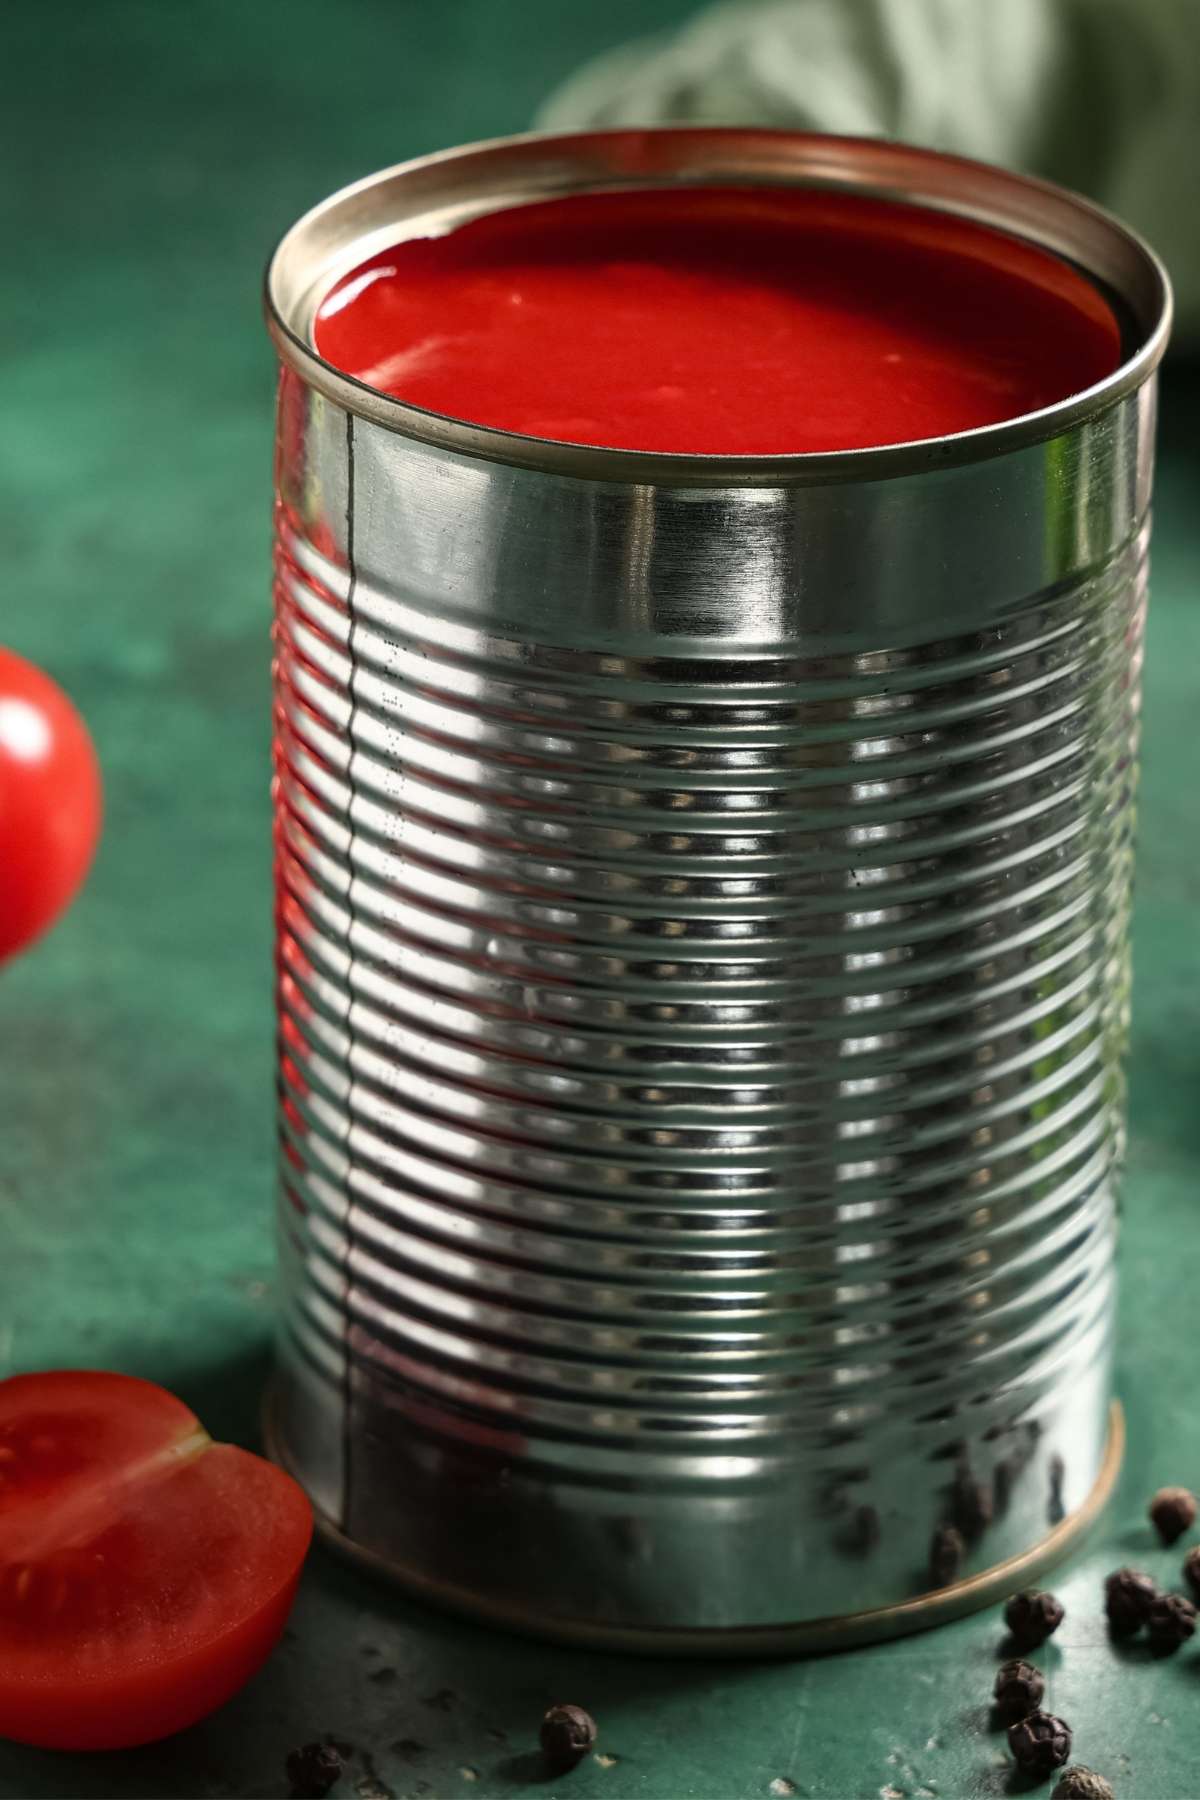
Canned Tomatoes
Canned tomatoes are one of the easiest ways to add acidity, depth, and structure to pantry cooking. Rice, beans, and lentils can carry a meal, but tomatoes help turn them into something fuller and more layered. They’re also reliable: shelf-stable, ready to use, and available year-round.
- How to select: Whole peeled tomatoes are the most versatile option—they break down the way you want them to when cooked. Diced tomatoes contain calcium chloride to help them hold their shape, which means they stay firmer and don’t soften into a sauce as easily. Look for cans without dents or bulging.
- Storage (how long canned tomatoes last): Unopened, they’ll keep for 1–2 years in a cool, dry place. Once opened, transfer to a sealed container and refrigerate for up to 3–5 days.
- What to do with them: Use as a base for soups, stews, sauces, and braises. Simmer with onions and garlic for a quick tomato base, or add directly to beans, lentils, or grains while they cook. Crush whole tomatoes by hand for a looser texture, or cook them down longer for something thicker. Turn into a simple sauce for pasta or grains, or add to beans and lentils for a one-pot meal.
- Worth knowing: A little fat—like olive oil—helps round out the acidity and carry flavor. If a sauce tastes too sharp, let it simmer longer, or balance it with a small pinch of sugar if needed.
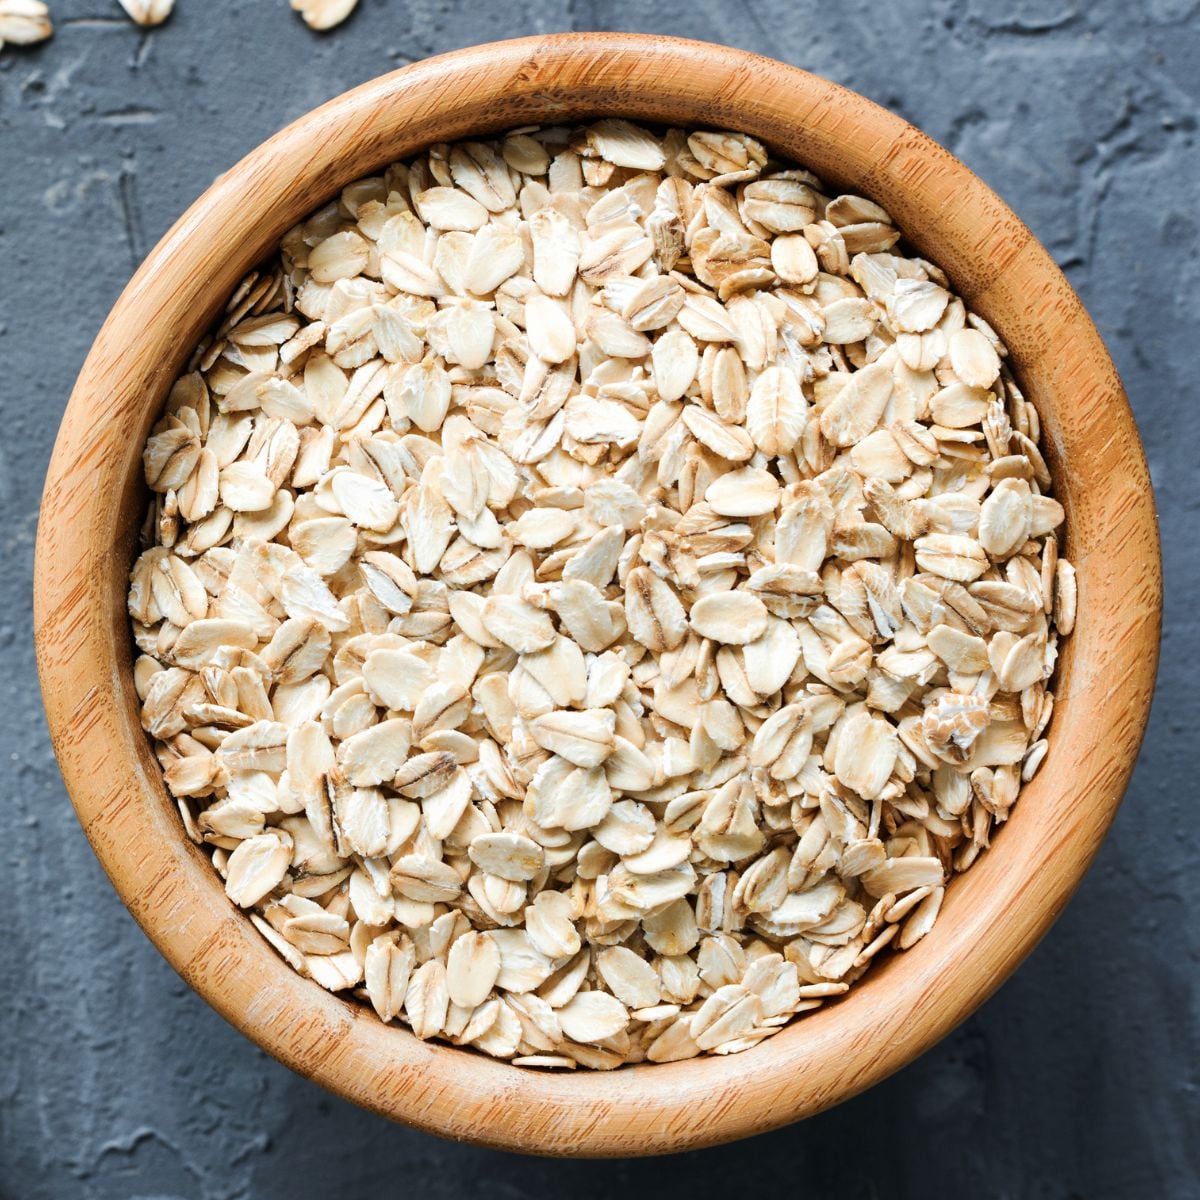
Oats
Oats are one of those pantry staples that are inexpensive, shelf-stable, and cook in minutes. More importantly, they adapt to whatever you need—something simple and familiar, or something more savory and built out.
They’re usually boxed into breakfast, but oats go far beyond that. Once you know how to use them, they become a flexible base you can lean on—something you can cook quickly, store easily, and turn into a real meal without much effort.
- How to select: Rolled oats (old-fashioned) are the most versatile—they cook quickly but still hold some texture. Quick oats are softer and faster, but can turn mushy. Steel-cut oats take longer but stay chewy and distinct. All should smell neutral and slightly nutty, not stale or dusty.
- Storage (how long oats last): Store oats in an airtight container in a cool, dry place. They’ll keep for at least 1–2 years, often longer. Because they contain natural oils, they can go rancid over time—if they smell off, it’s time to replace them. Cooked oatmeal lasts about 3–5 days in the fridge.
- How to cook oats: For rolled oats, use about 1 cup oats to 2 cups water or milk. Bring to a simmer and cook for 5–10 minutes until soft. Steel-cut oats take longer (25–30 minutes) and use closer to 1 cup oats to 3 cups water.
If you don’t want to use the stove, you can pour hot liquid over oats instead. Add oats to a bowl with a pinch of salt, then pour over just-boiled water or hot soymilk (about 2 parts liquid to 1 part oats). Cover and let sit for 3–5 minutes until softened. Stir, then adjust with a little more liquid if needed. This works for rolled oats—not steel-cut. - What to do with oats: Cook them simply with water, salt, and a drizzle of oil, or build them out with spices, vegetables, or something creamy. Savory oats work especially well here—garlic, mushrooms, greens, beans, or anything you’d put over rice. You can also blend oats into oat flour, stir them into soups to thicken, or use them as a binder in patties or vegetable mixes.
- Worth knowing: Oats absorb flavor the same way rice does—which means they’re only as good as what you add to them. If they taste flat, it’s usually a salt or fat problem, not an oat problem.
Putting It Together
The ingredients above don’t need to be used in isolation. Most of the meals worth making from this list follow the same logic: a starchy base, something with protein, and a flavor builder or two.
- Rice and lentils with sautéed onion and canned tomatoes is already a meal. Add a handful of cabbage and a splash of vinegar at the end and it becomes something with texture and brightness. Roast sweet potatoes while the lentils simmer and two components are done at once.
- Beans and potatoes can do a lot. Smash cooked potatoes into a rough mash, spoon white beans cooked down with garlic and olive oil over the top, and finish with something sharp—pickled onion, a squeeze of lemon, or something acidic.
- Oats fit into the same structure. Cooked in water or broth with a little oil, they take on whatever goes on top—roasted squash, greens, beans, or leftover sauce.
FAQs
Store ingredients based on how they hold: dry goods sealed and away from moisture, root vegetables in a cool, dark place, and items like cabbage and carrots in the refrigerator. Cook in batches and reuse components across multiple meals instead of tying them to a single recipe. Ingredients that can be used more than one way are far less likely to go to waste.
No. Some ingredients take more time upfront, but many—lentils, oats, canned tomatoes—come together quickly. Using a mix of both keeps meals manageable without relying on fully from-scratch cooking every day.
Build around three parts: a base, a protein, and something that adds flavor. Rice, potatoes, or oats form the base; beans or lentils add substance; onions, cabbage, or tomatoes bring it together. Once that structure is in place, the combinations can shift based on what’s available.


