Rejuvelac is a lightly fermented liquid made from sprouted grains or seeds (like quinoa), water, and a little patience. This guide walks through the process and the visual and aroma cues that indicate fermentation has gone right.
Rejuvelac is most often used as a starter in vegan cheesemaking. A successful batch is lightly tangy and faintly cloudy, and it’s added to nut- or seed-based mixtures to add acidity and encourage fermentation, which can contribute to flavor development during plant-based cheesemaking.
I’ve made rejuvelac many times using quinoa, and this guide focuses on that specific method—how to make it, what’s happening during sprouting and fermentation, and how to tell, using smell, taste, and appearance, whether a batch is successful or should be discarded.
What Is Rejuvelac?
Rejuvelac starts with sprouted grains or seeds and a jar of water. Once the grain has sprouted, fresh water is added and left at room temperature for a short fermentation, during which the liquid becomes lightly tangy and cloudy. That finished liquid is rejuvelac.
Why I Use Quinoa for Rejuvelac
This guide focuses on a quinoa-based version, because that’s what I’ve made repeatedly and know how to read. Quinoa sprouts quickly, tends to ferment cleanly, and is relatively easy to judge once you know what to look for.
I’m not covering every possible grain here. While rejuvelac is sometimes made with other sprouted grains, results can vary widely. Quinoa’s fast sprouting and mild flavor make it a practical choice, especially if you’re making rejuvelac specifically for vegan cheesemaking and want a method that’s consistent and easy to troubleshoot.
How to Make Rejuvelac with Quinoa
Making rejuvelac is easy once you know the steps—and what visual and aroma cues to look for. The process happens in two stages: sprouting the quinoa, then fermenting the liquid.
Step 1: Soak the quinoa – Add ½ cup quinoa to a clean, wide-mouth quart jar and cover with plenty of water. Let it soak at room temperature for about 12 hours, then drain thoroughly.
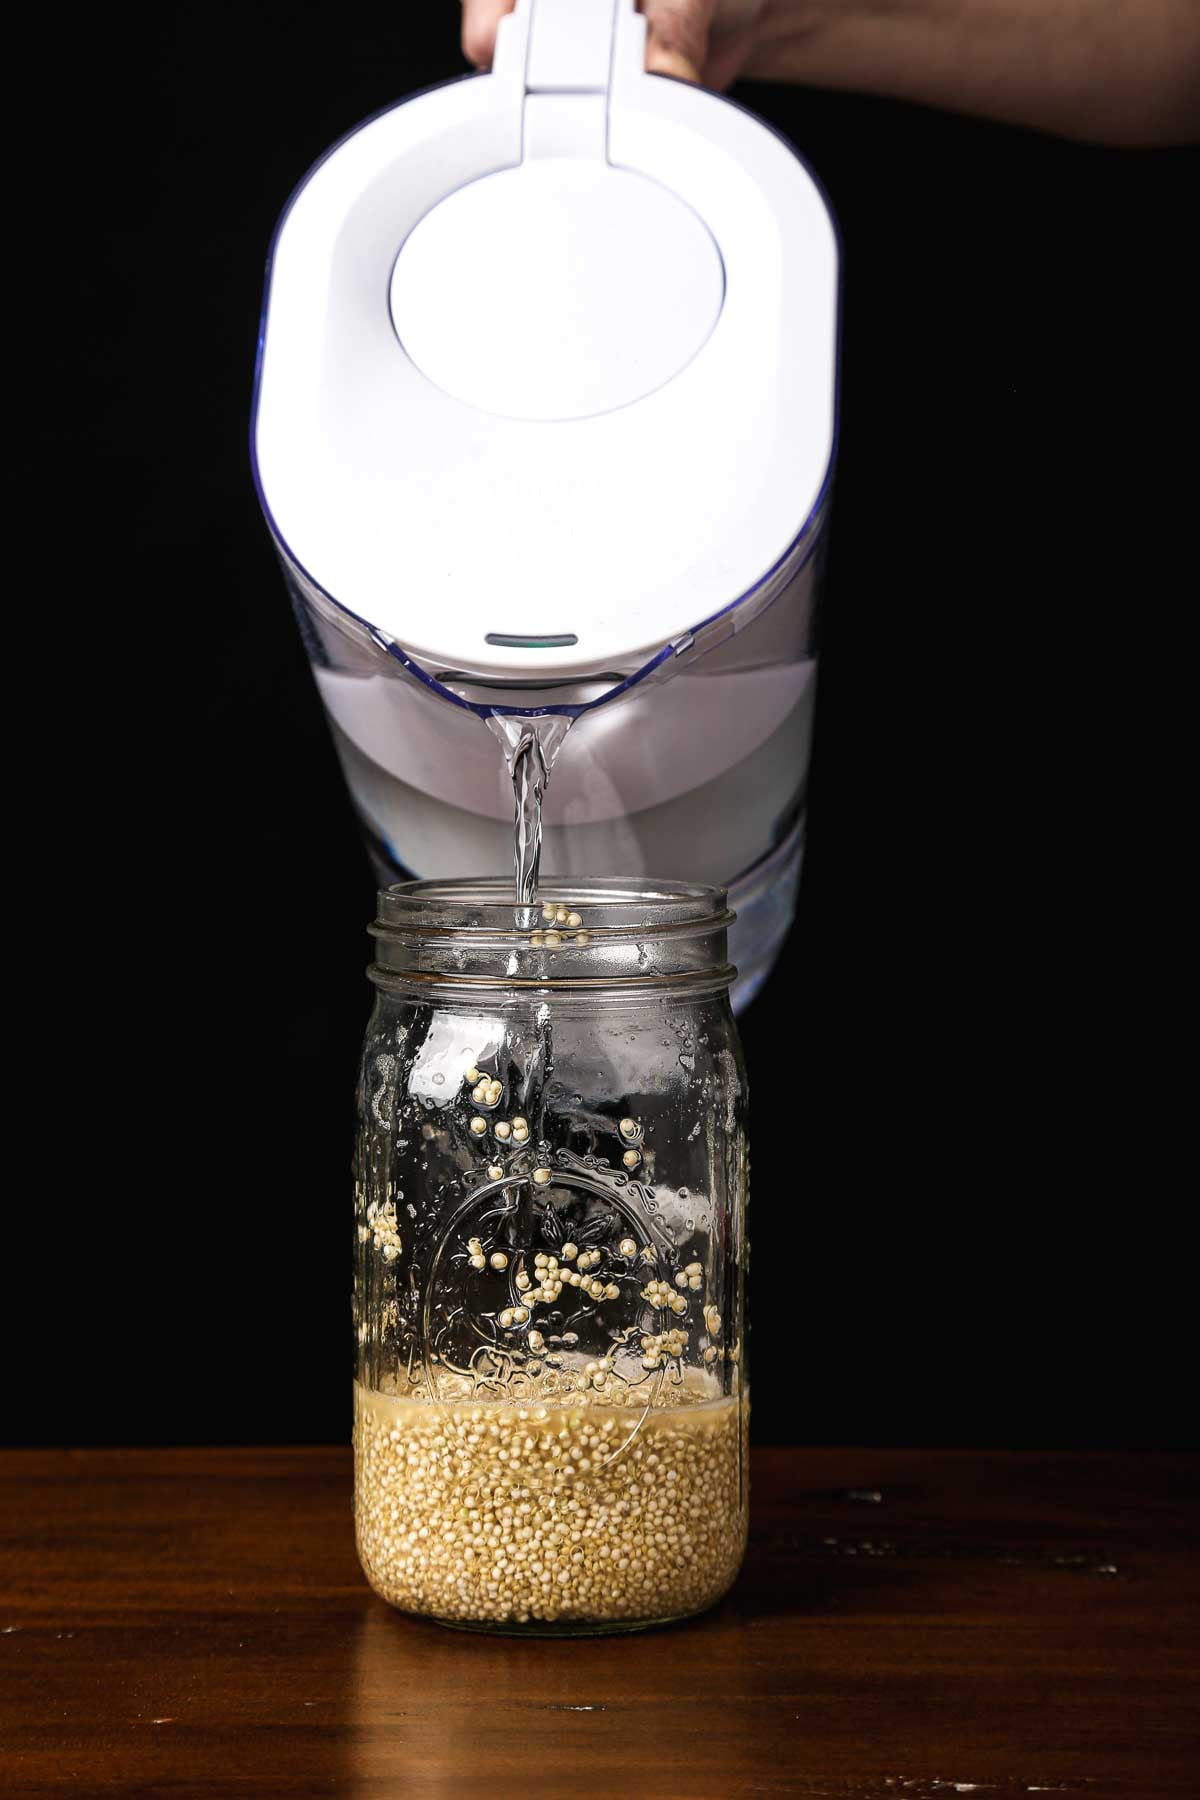
Step 2: Sprout the quinoa – Add just enough water to moisten the seeds—don’t submerge them. Any excess water should be mostly drained before setting the jar aside. Cover the jar with a single layer of cheesecloth secured with a rubber band and place it at room temperature, out of direct sunlight. I place it on my kitchen countertop in a dark corner. Rinse and drain the quinoa once or twice a day, adding just enough water to keep it moist.
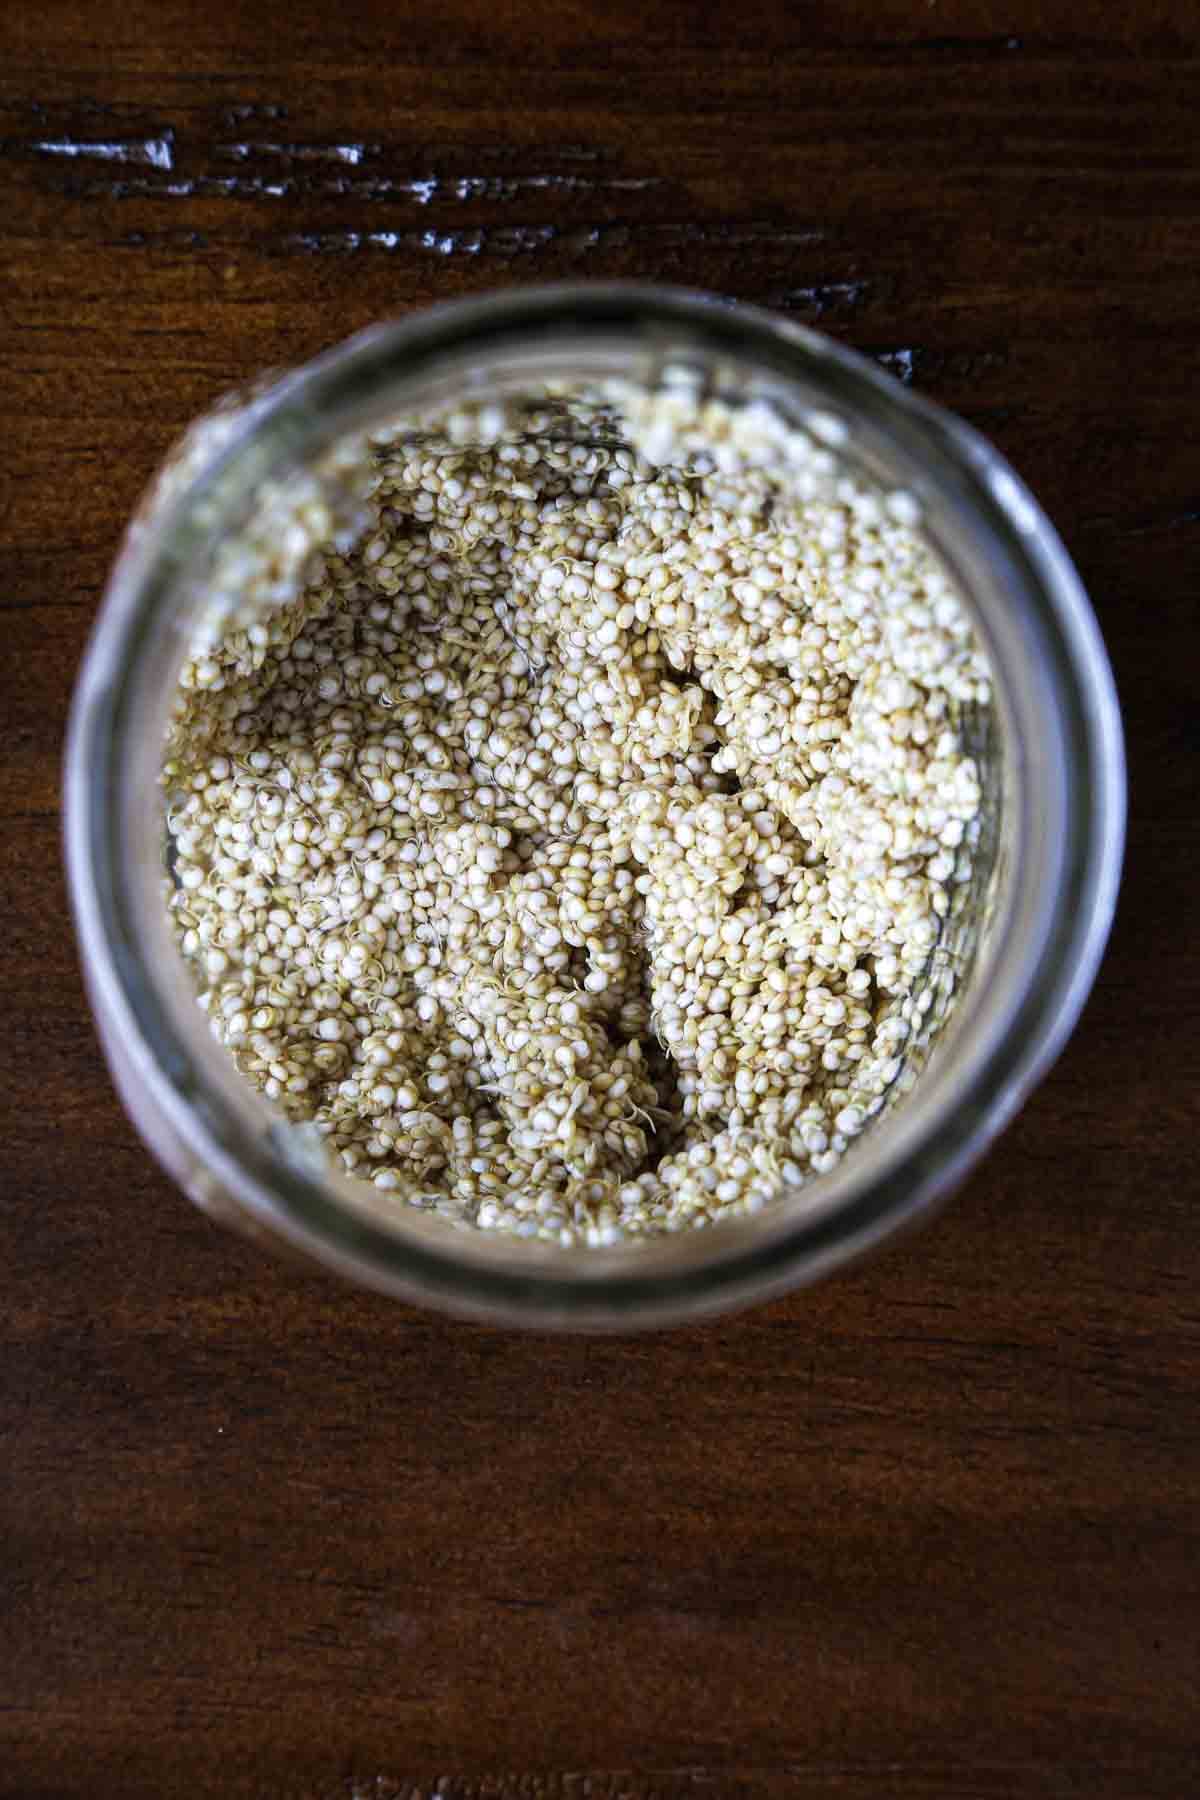
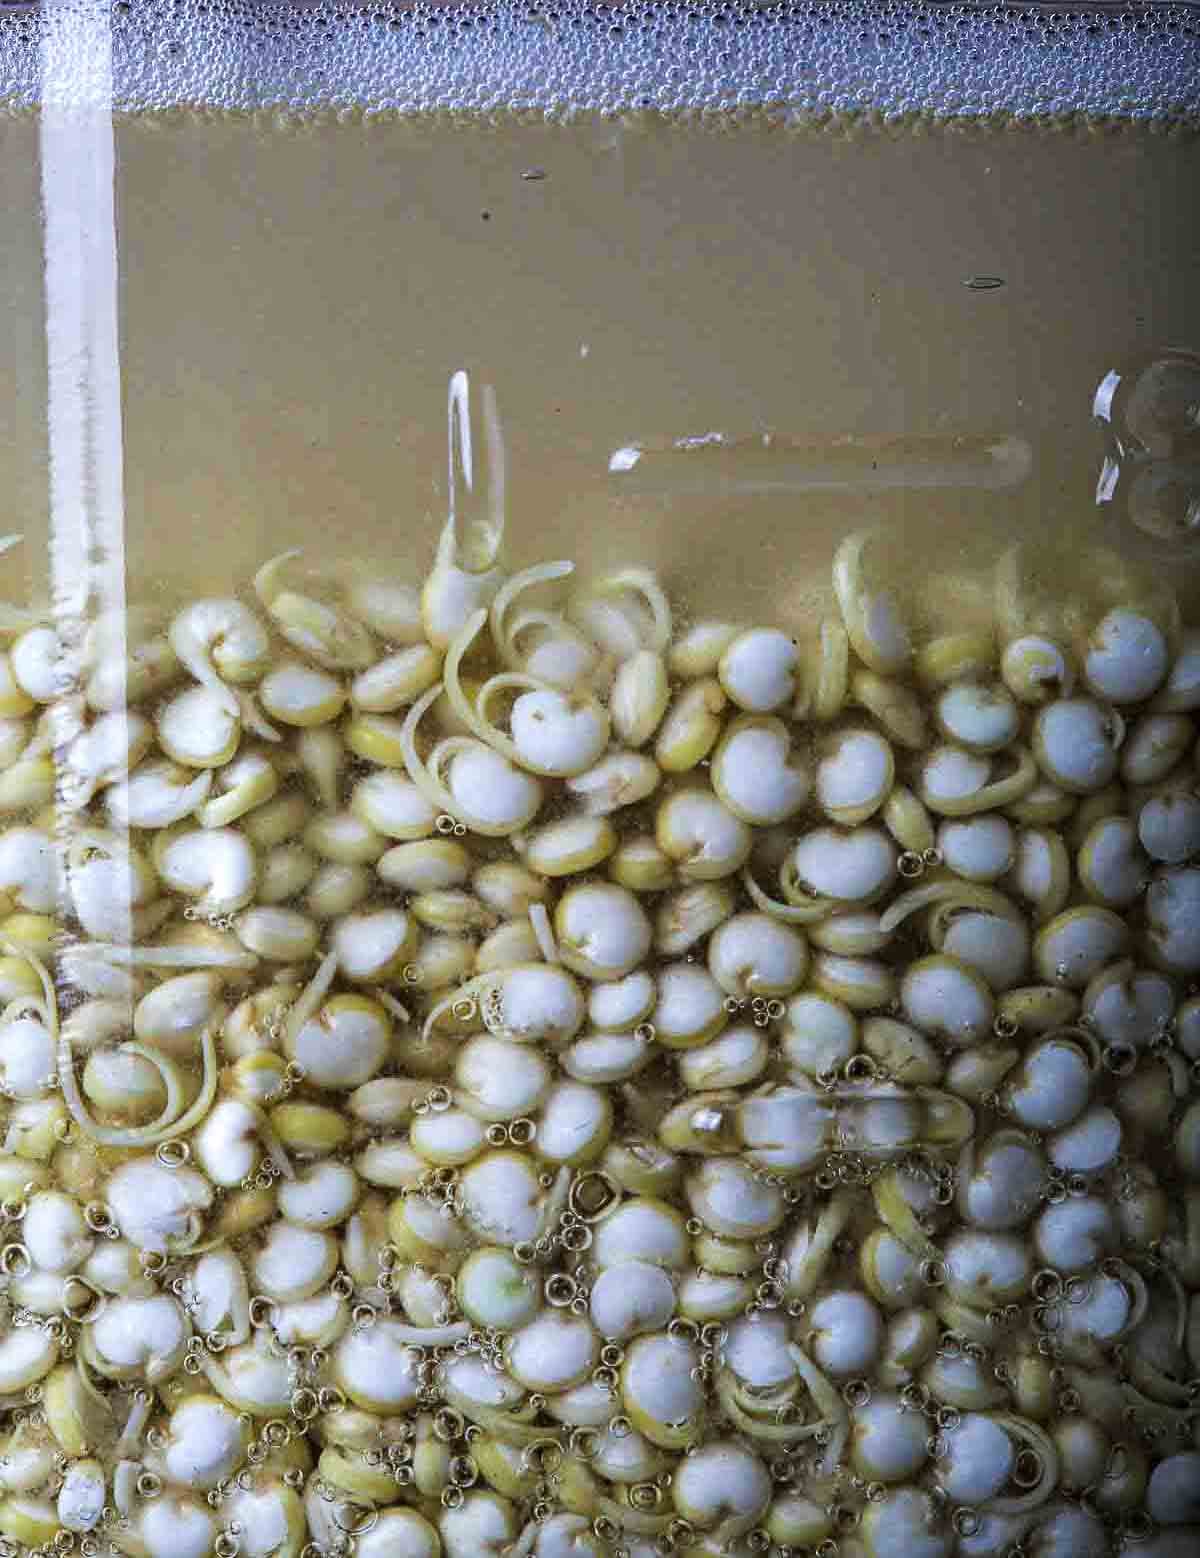
Quinoa sprouts quickly—often within 24 hours. What to look for: tiny “tails” growing from the seeds.
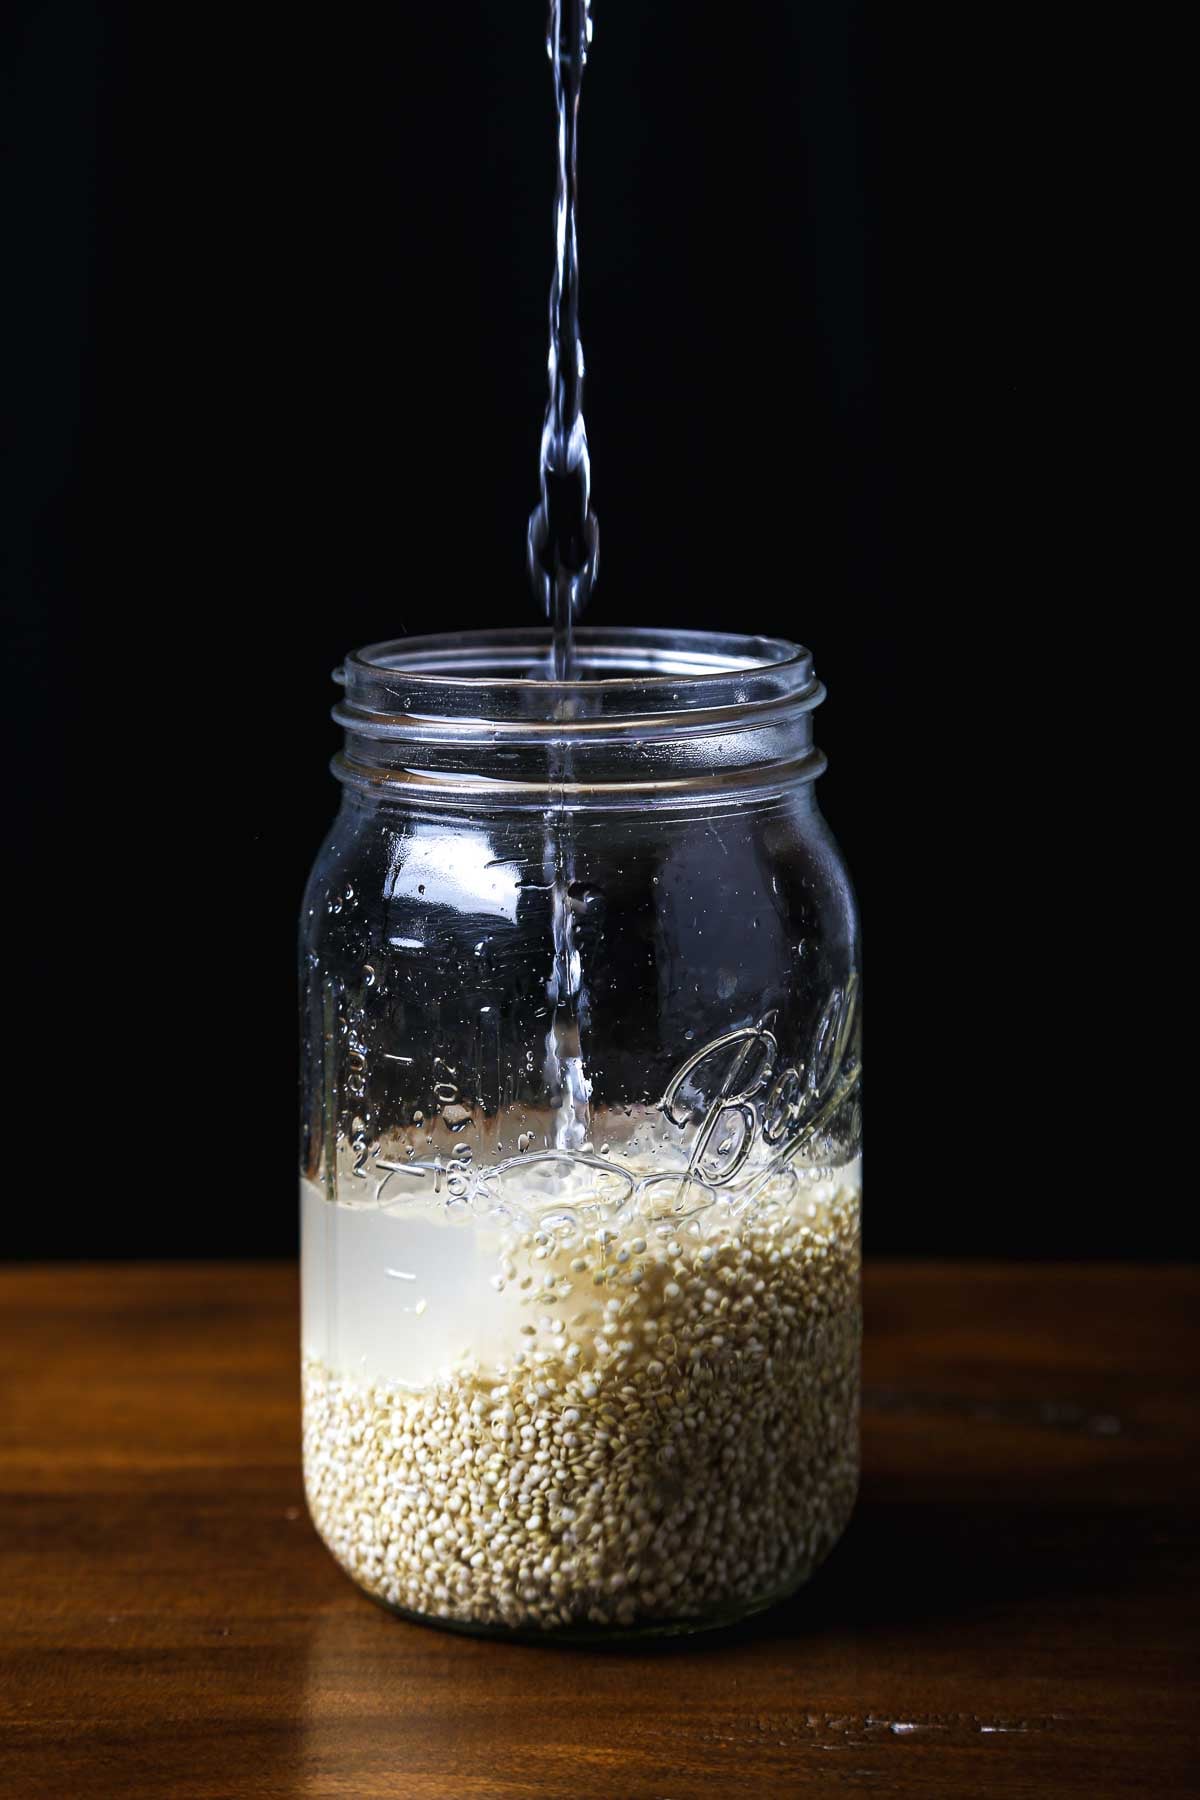
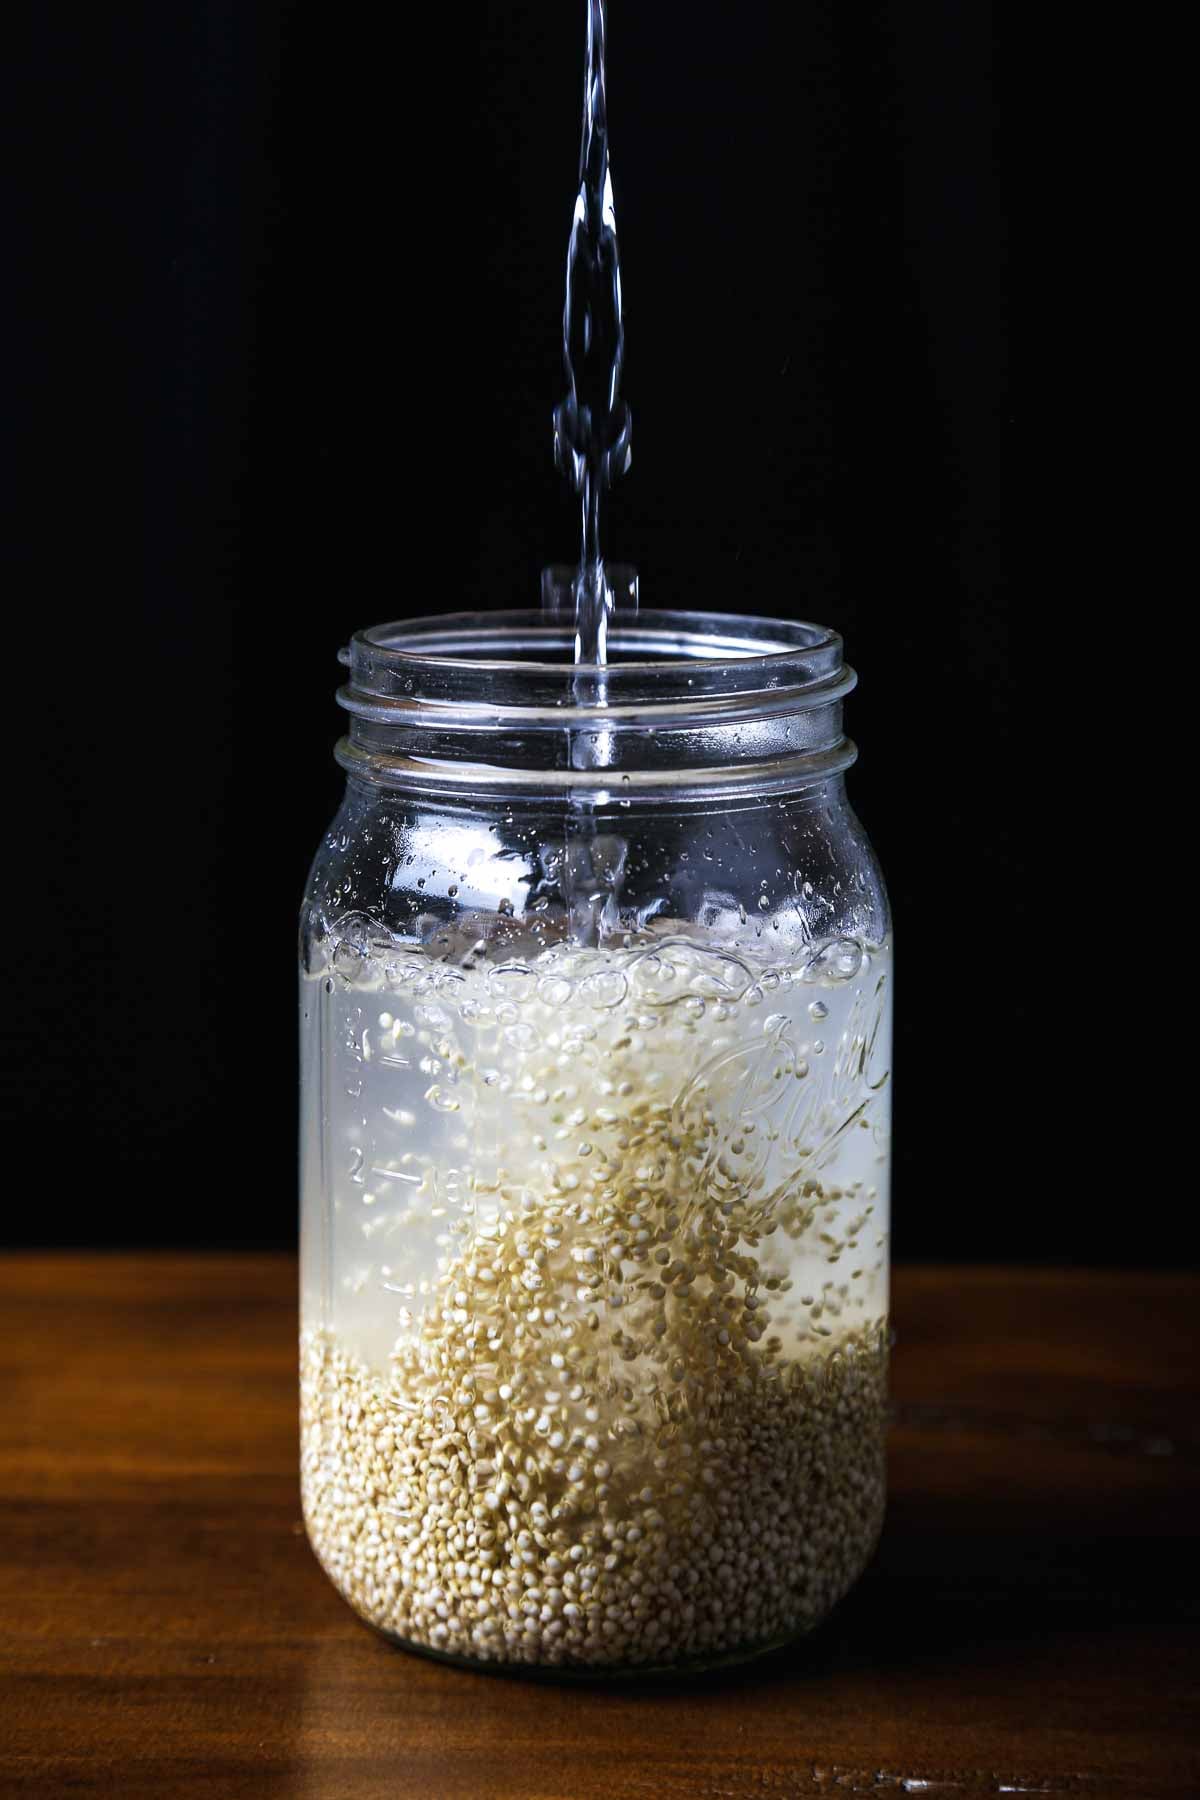
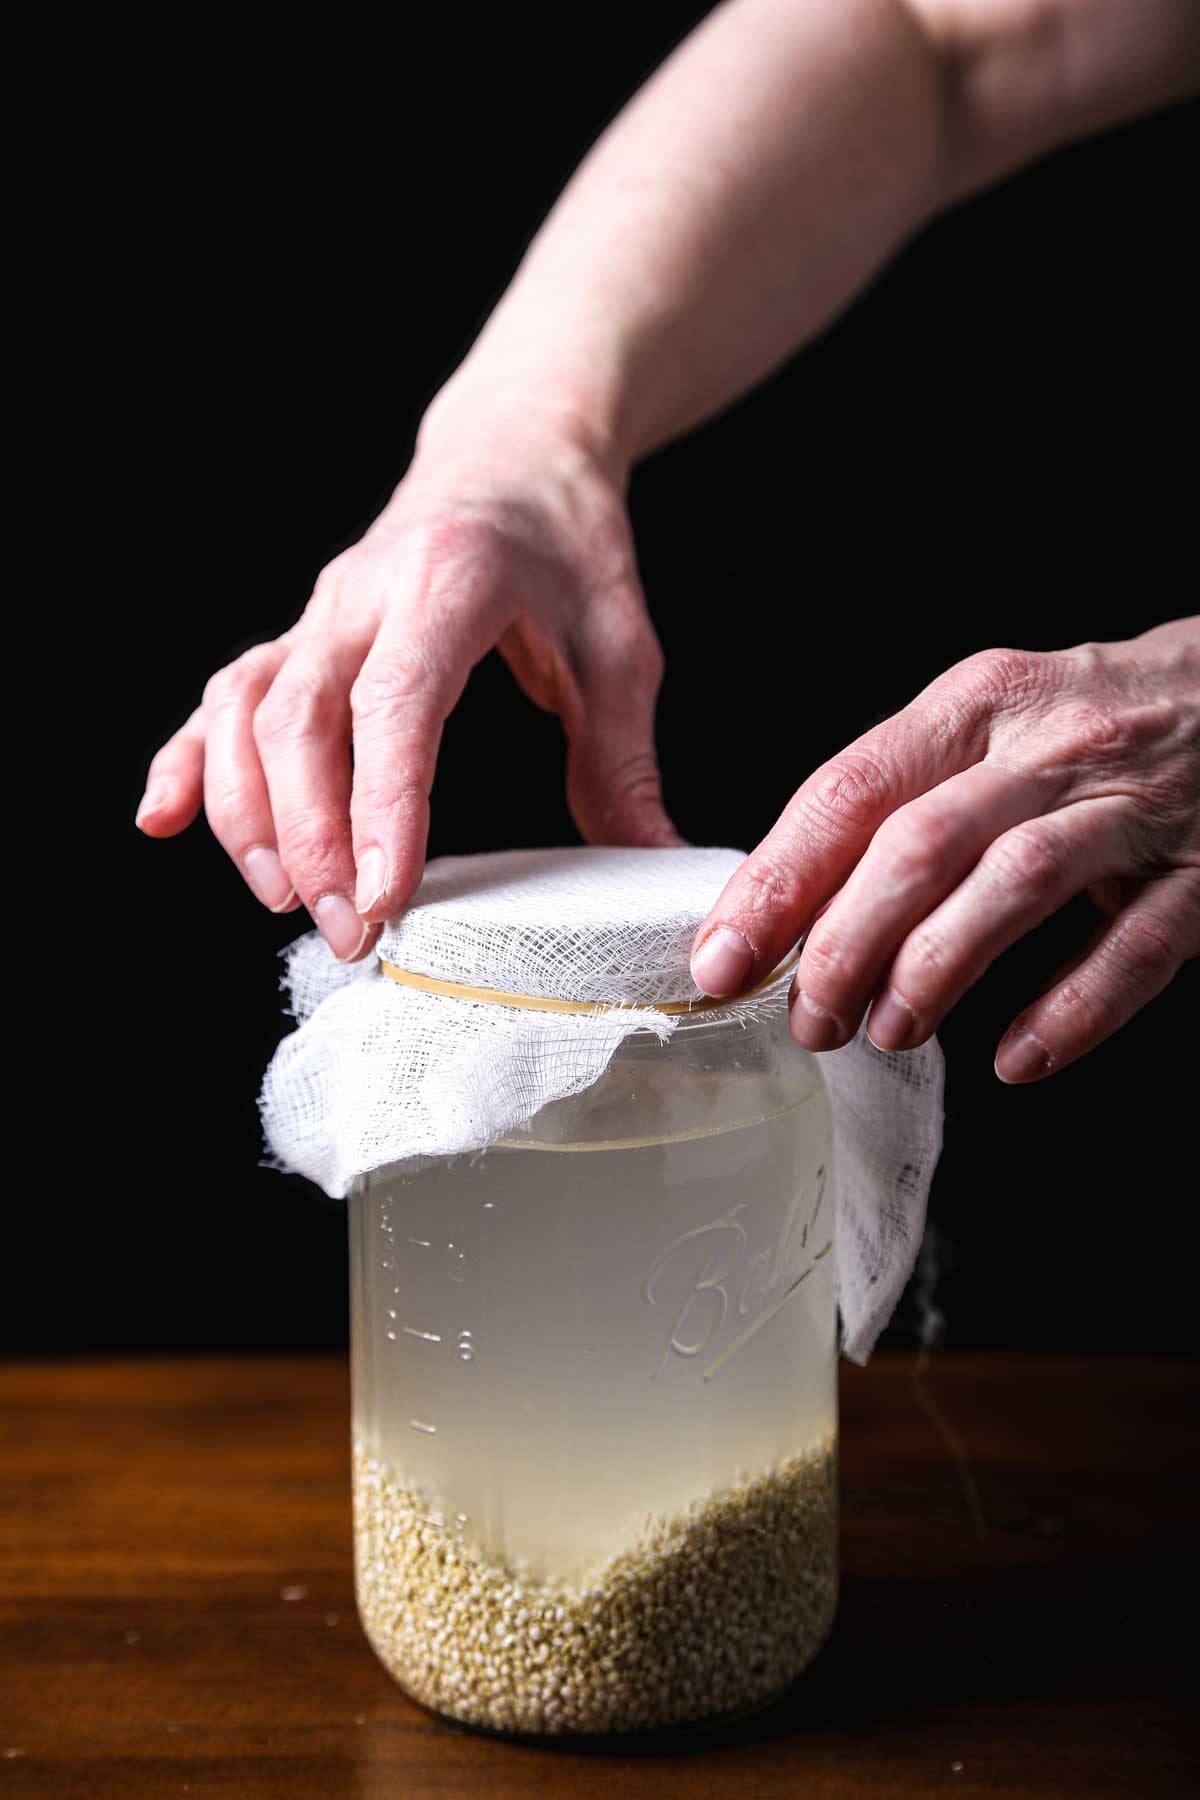
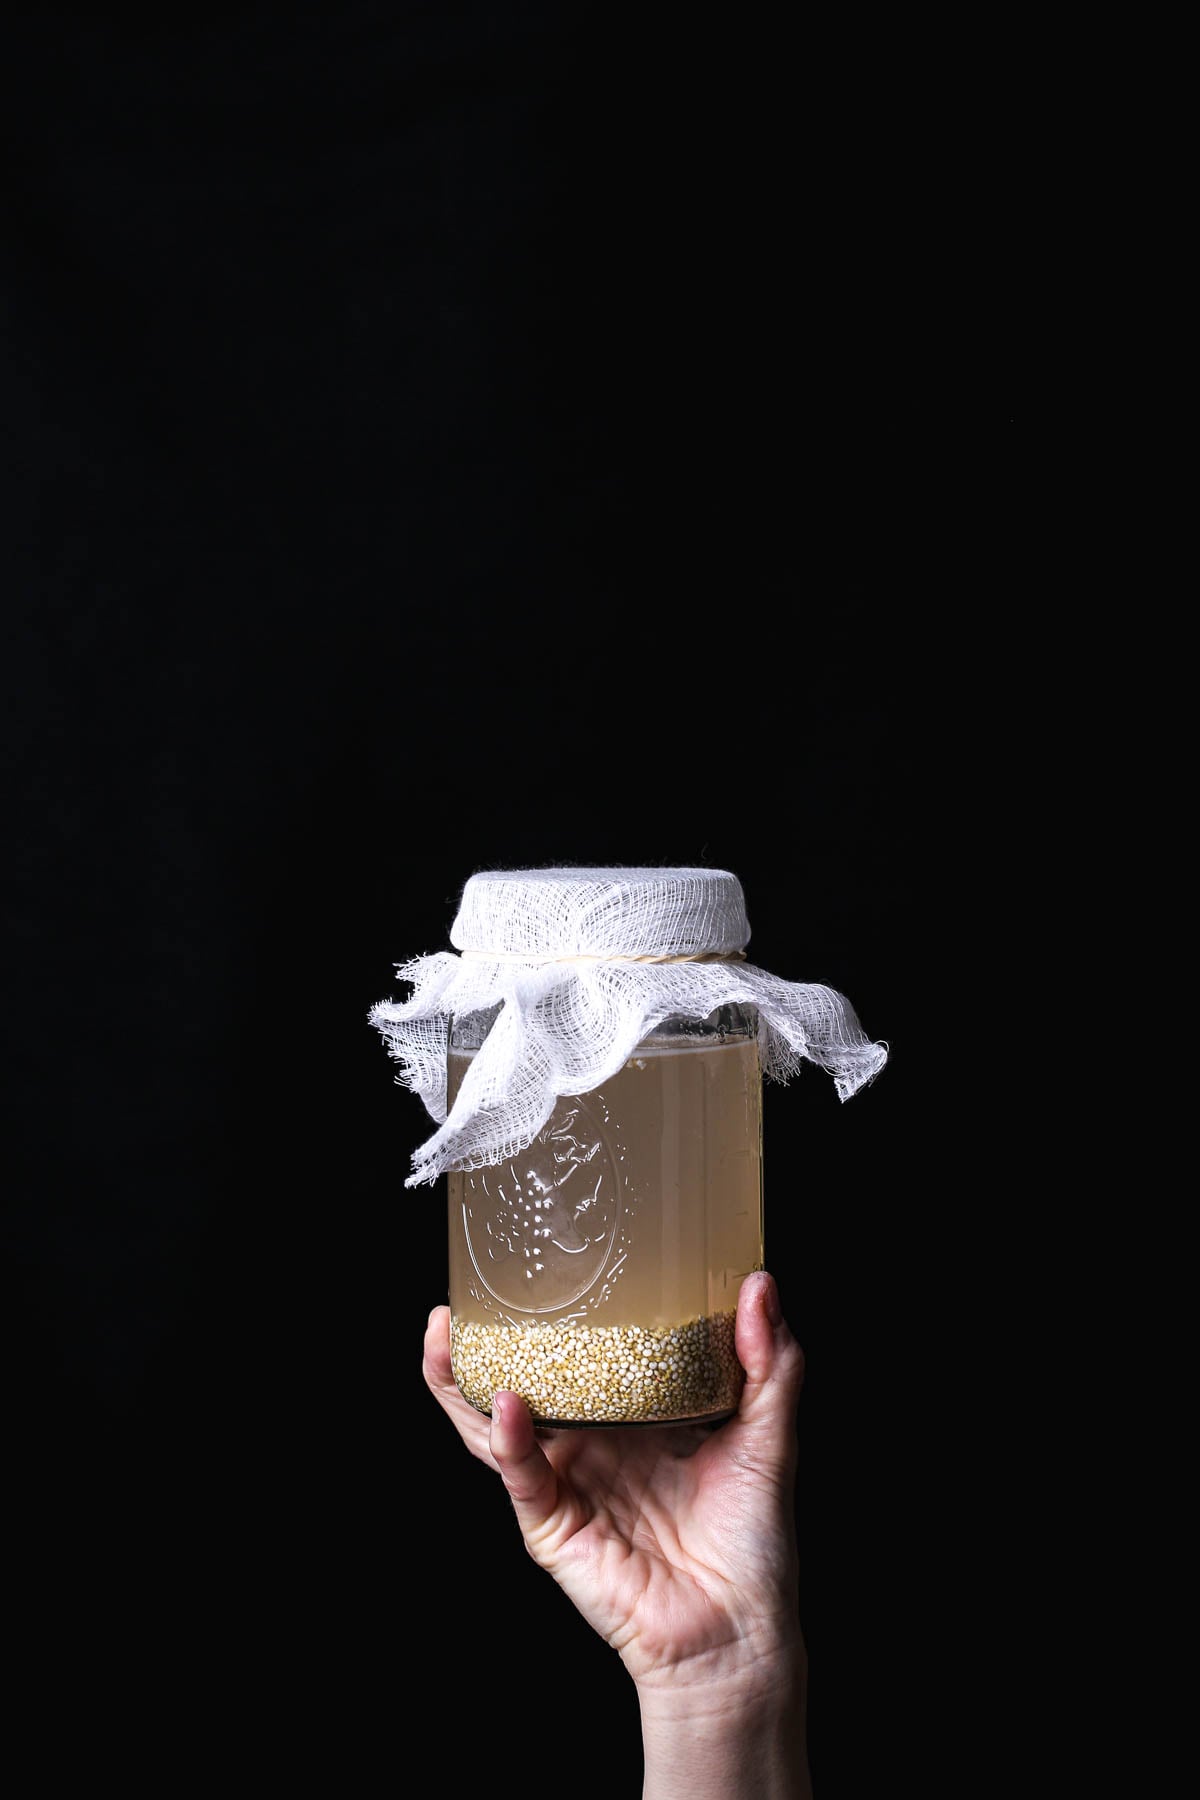
Step 3: Add water and ferment – Once the quinoa has sprouted, add about 3 cups of filtered water to the jar. Cover loosely with a new piece of cheesecloth lid and leave it at room temperature, out of direct light, for 2 to 3 days.
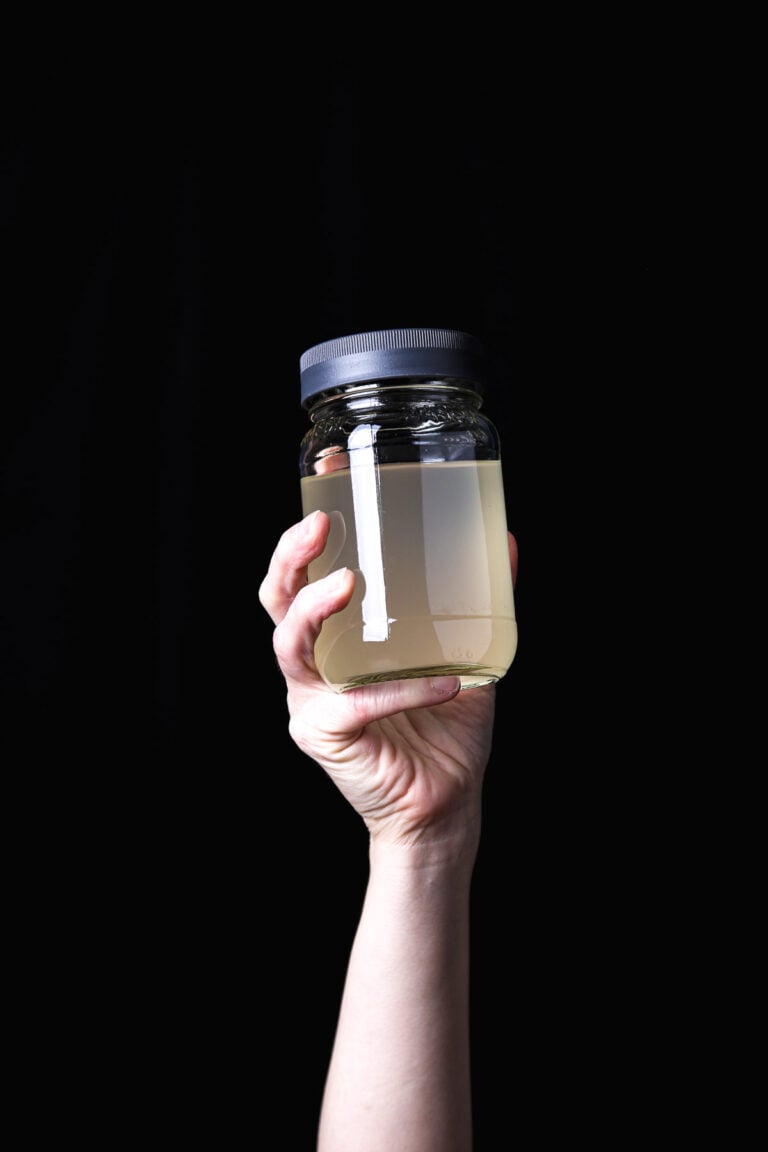
During this time, the liquid should gradually turn cloudy. It will have an earthy, grain-forward quinoa aroma. See notes below for guidance on how to tell if a batch is successful or should be discarded based on smell, taste, and appearance.
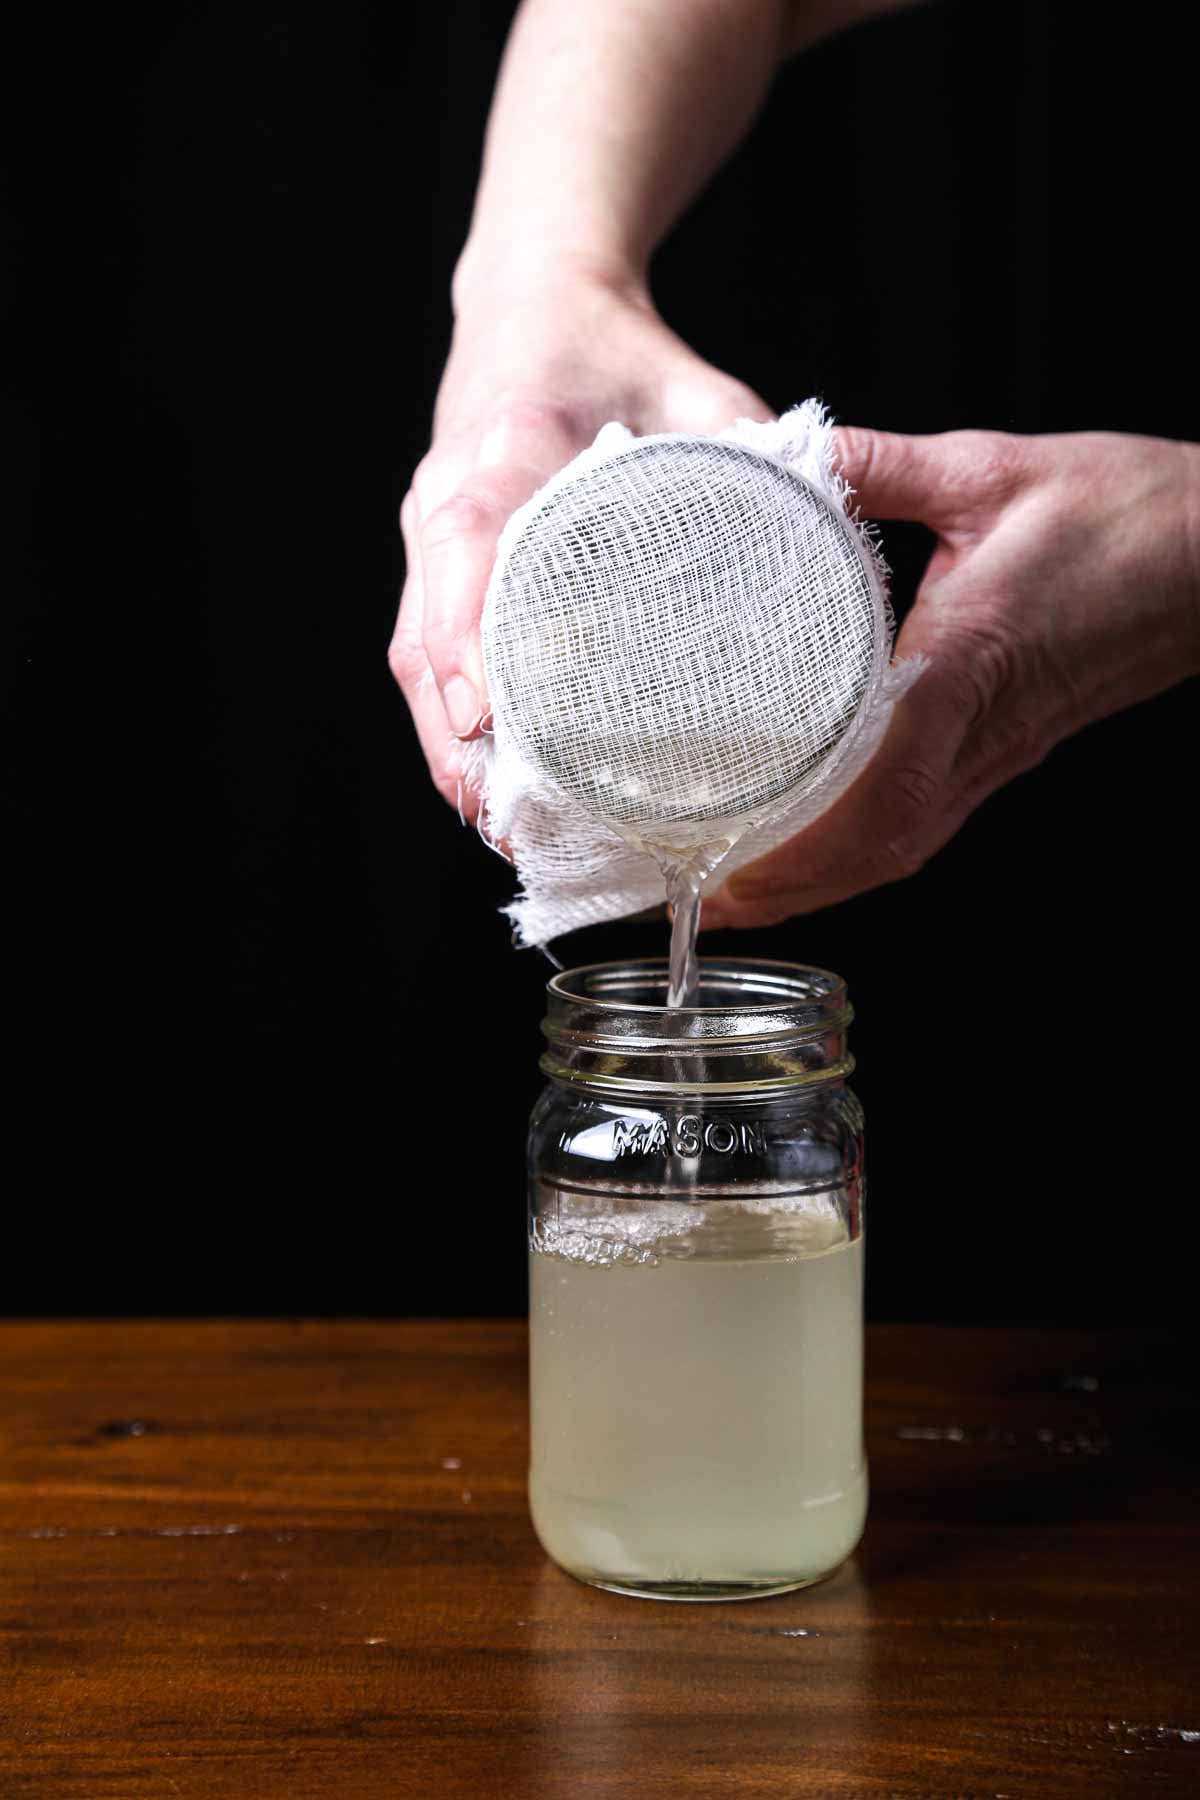
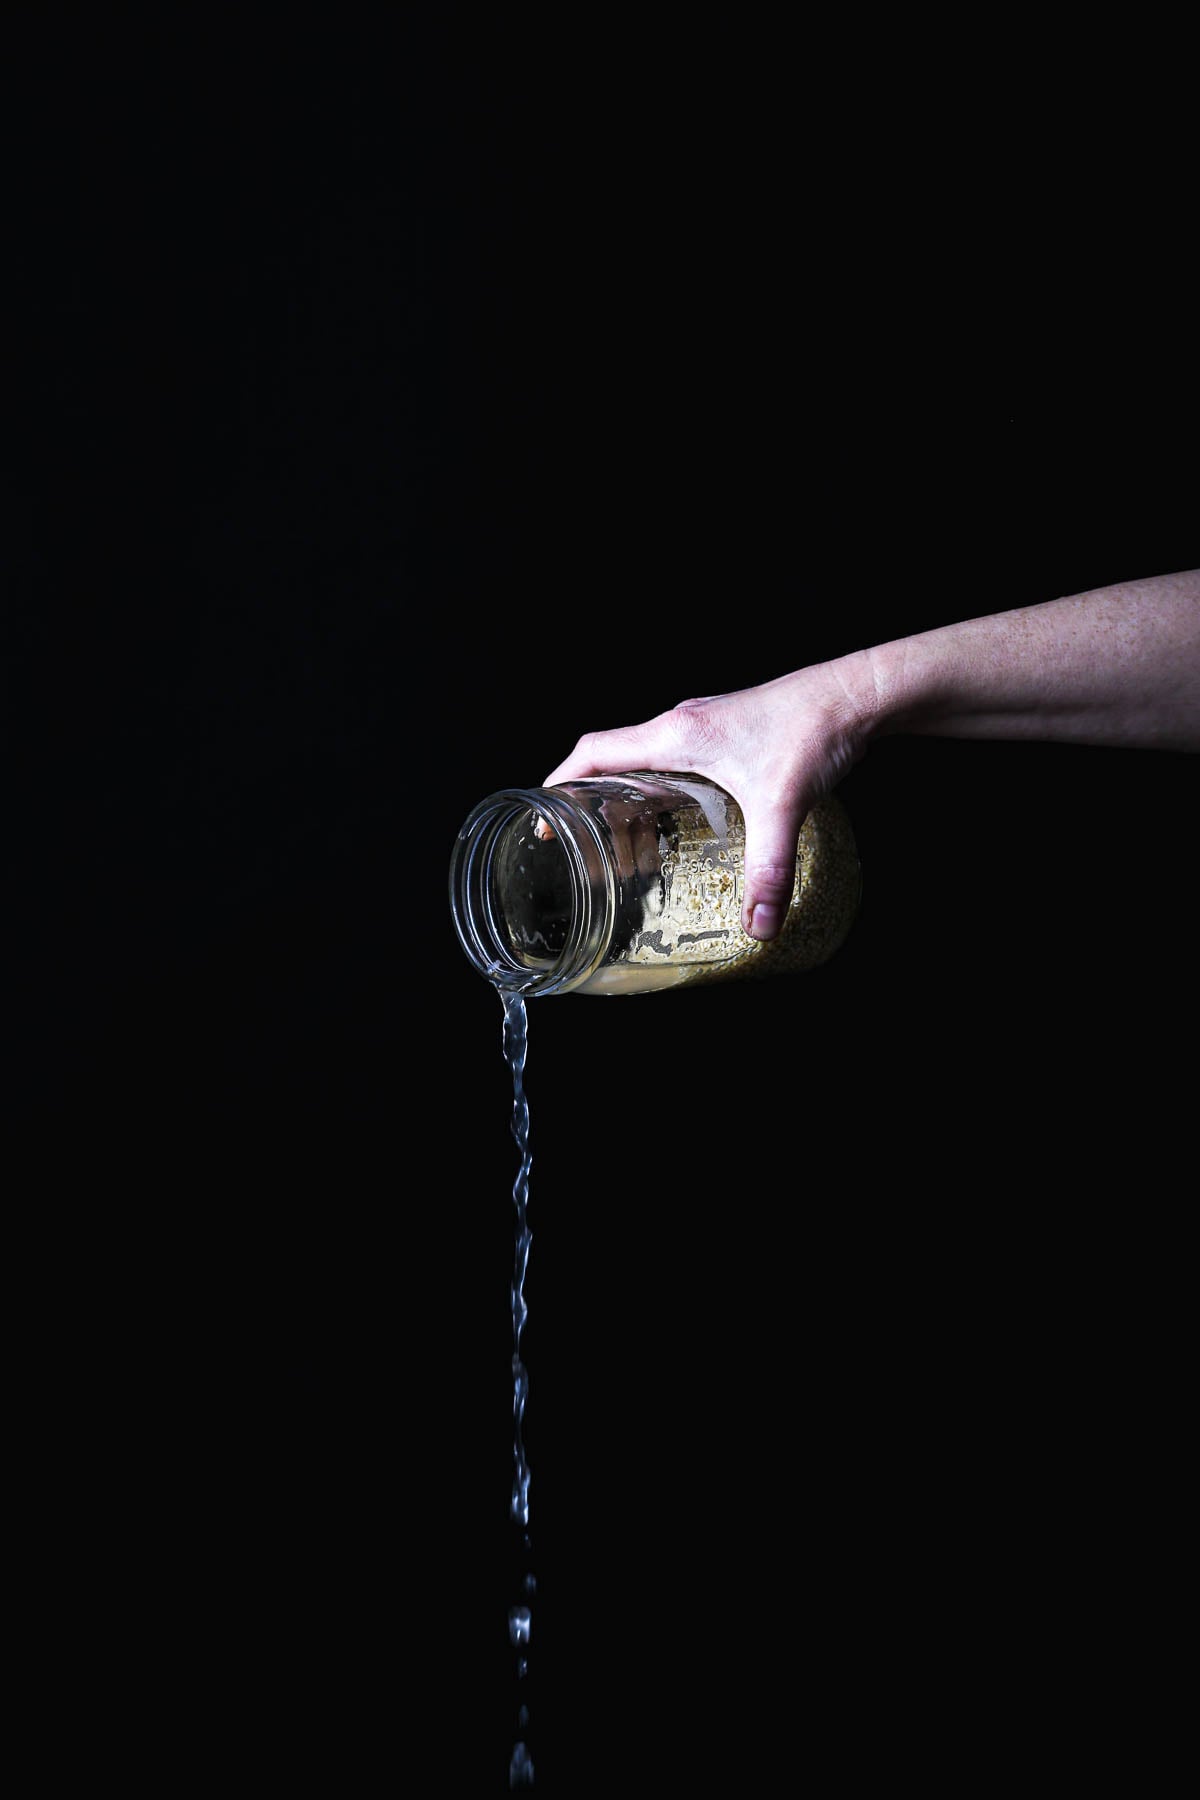
Step 4: Strain and refrigerate – After 2-3 days, if the liquid looks and smells ok (see list below), give it a taste. It should taste lightly tangy—similar to diluted lemon juice—with a gentle, clean acidity. Strain out the quinoa and transfer the rejuvelac to a clean jar. Refrigerate for up to two weeks, or freeze it in ice cube trays for use later.
Rejuvelac is typically used as a fermentation starter in vegan cheesemaking rather than consumed on its own. Try this easy recipe for cashew cheese that uses rejuvelac.

What Rejuvelac Should Look, Smell, and Taste Like (And When to Toss It)
A finished batch of rejuvelac has a recognizable look, smell, and taste. Checking these cues is a simple way to confirm that fermentation went as expected. The guidelines below walk through what’s normal—and what isn’t.
What It Should Look Like
- Lightly cloudy or hazy
- No surface mold
- No slimy strands
What It Should Smell Like
- Earthy, grain-forward, or mildly funky
- Never sulfurous
What It Should Taste Like
- Mildly acidic, similar to diluted lemon juice
- Slight fizz is normal
When to Toss It
- Visible mold
- Slimy texture
- An unmistakably rotten smell (not just “funky”)
- Any signs that are clearly different from previous successful batches
Using Rejuvelac vs. Starter Cultures in Vegan Cheese
Rejuvelac works best in vegan cheeses where fermentation is guided by smell, taste, and appearance rather than exact timing—think softer, spreadable cheeses or rustic cultured styles. If a recipe needs precise timing, repeatable results, or a very specific flavor profile, a commercial vegan starter culture can be a better fit. Neither is “more correct”; they’re simply different tools.
FAQs
Rejuvelac is most commonly used as a fermentation starter in vegan cheesemaking. It adds acidity and subtle fermented flavor to nut- or seed-based mixtures, helping shape taste and texture during the culturing process.
Rejuvelac is made from sprouted grains or seeds and water. In this guide, quinoa is used because it sprouts quickly and produces a clean-tasting, easy-to-read fermentation.
Rejuvelac tastes mildly acidic, similar to diluted lemon juice. The flavor is light and clean, sometimes with a gentle fizz, while the aroma remains more earthy and grain-forward than sour.
More Fermented Vegan Recipes
Where Rejuvelac Comes From (and How It’s Used Today)
Rejuvelac has roots in early vegan and raw food traditions, often associated with the work of Ann Wigmore, and it later found a more practical home in vegan cheesemaking through cooks like Miyoko Schinner. That’s where I learned to use it, and that context shapes this method.
Once you’ve made it a few times, knowing what a good batch of rejuvelac looks, smells, and tastes like becomes second nature. It’s an easy, budget-friendly way to bring fermented acidity into vegan cheesemaking.
Get This Recipe In Your Inbox
Share your email, and we’ll deliver it straight to your inbox.
Plus, enjoy new content every week as a bonus!
Rejuvelac (How to Make it with Quinoa)
Rejuvelac is a simple fermented liquid made from sprouted grains or seeds and water, and it shows up often in vegan cheesemaking. This quinoa-based version sprouts quickly and is easy to read once you know what to look for. With a little patience, it’s a low-key, budget-friendly way to bring fermented acidity into homemade vegan cheese recipes.
- Total Time: 96 hours 10 minutes
- Yield: 3 cups
Ingredients
- 1/2 cup quinoa, rinsed and drained
- 3 cups filtered water, plus more for soaking and rinsing
Instructions
Soak the quinoa
- Place the quinoa in a clean, wide-mouth quart jar and cover with plenty of water.
- Let soak at room temperature for about 12 hours, then drain thoroughly.
Sprout the quinoa
- Rinse the quinoa and drain well.
- Add just enough water to moisten the seeds—do not submerge them.
- Cover the jar with a single layer of cheesecloth and secure it with a rubber band.
- Place the jar at room temperature, out of direct sunlight.
- Rinse and drain once or twice a day, keeping the quinoa moist but never sitting in water, until tiny sprouts appear. This usually takes about 24 hours.
Add water and ferment
- Once the quinoa has sprouted, add about 3 cups of filtered water to the jar.
- Cover loosely with a fresh piece of cheesecloth and leave at room temperature, out of direct light, for 2 to 3 days. The liquid should gradually turn cloudy and will smell earthy.
Strain and store
- Test the rejuvelac to see if it’s ready. It should taste lightly acidic, like diluted lemon juice.
- Strain out the rejuvelac into clean jars, and discard the quinoa.
- Refrigerate for up to two weeks. You can also freeze rejuvelac if needed.
Notes
- Use: Rejuvelac is typically used as a fermentation starter in vegan cheesemaking rather than consumed on its own.
- Timing: Quinoa sprouts quickly, but fermentation time can vary depending on room temperature. Use visual, smell, and taste cues rather than the clock to judge readiness.
- Storage: Store rejuvelac in the refrigerator for up to 2 weeks, or freeze in ice cube trays for longer storage.
- When to discard: If the liquid smells rotten, develops visible mold, or becomes slimy, discard the batch and start over.
- Prep Time: 10 minutes
- Soak & Ferment Time: 4 days
- Category: Condiments
- Method: Fermented
- Cuisine: American, European
- Diet: Vegan


